
A security deposit is the difference between absorbing damage and recovering it. On a WooCommerce rental store it needs to be taken at checkout, held against the order, and then released or partly retained once the item is back and inspected. This guide covers how to set that up, how much to charge, and the legal and practical details that catch people out.
Where the deposit sits in the rental cycle
A deposit is not a separate transaction bolted on afterwards. It is part of a loop that starts when the customer books and only closes when the item has been checked back in:

Step 1: Set a deposit on the product
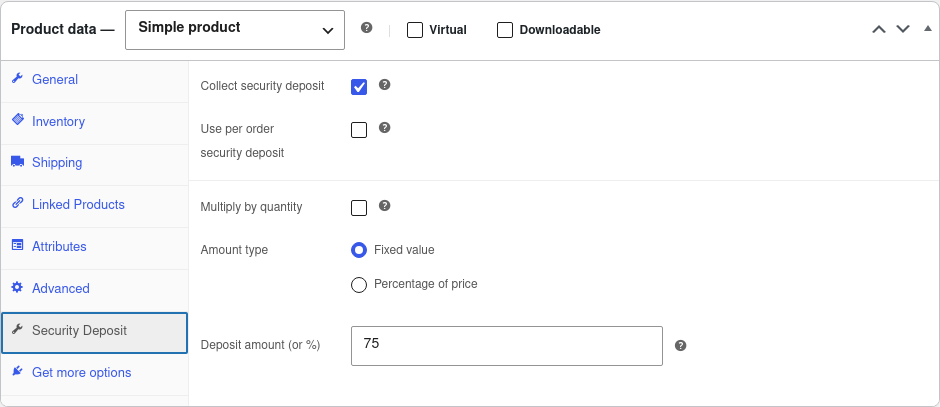
Edit the product, open the rental settings, and set the deposit amount. Two models are common:
- Fixed amount — $150 on a camera body regardless of hire length. Simple, predictable, easiest for customers to understand.
- Percentage of hire value — scales with the order, which suits businesses where a single booking might be one chair or three hundred.
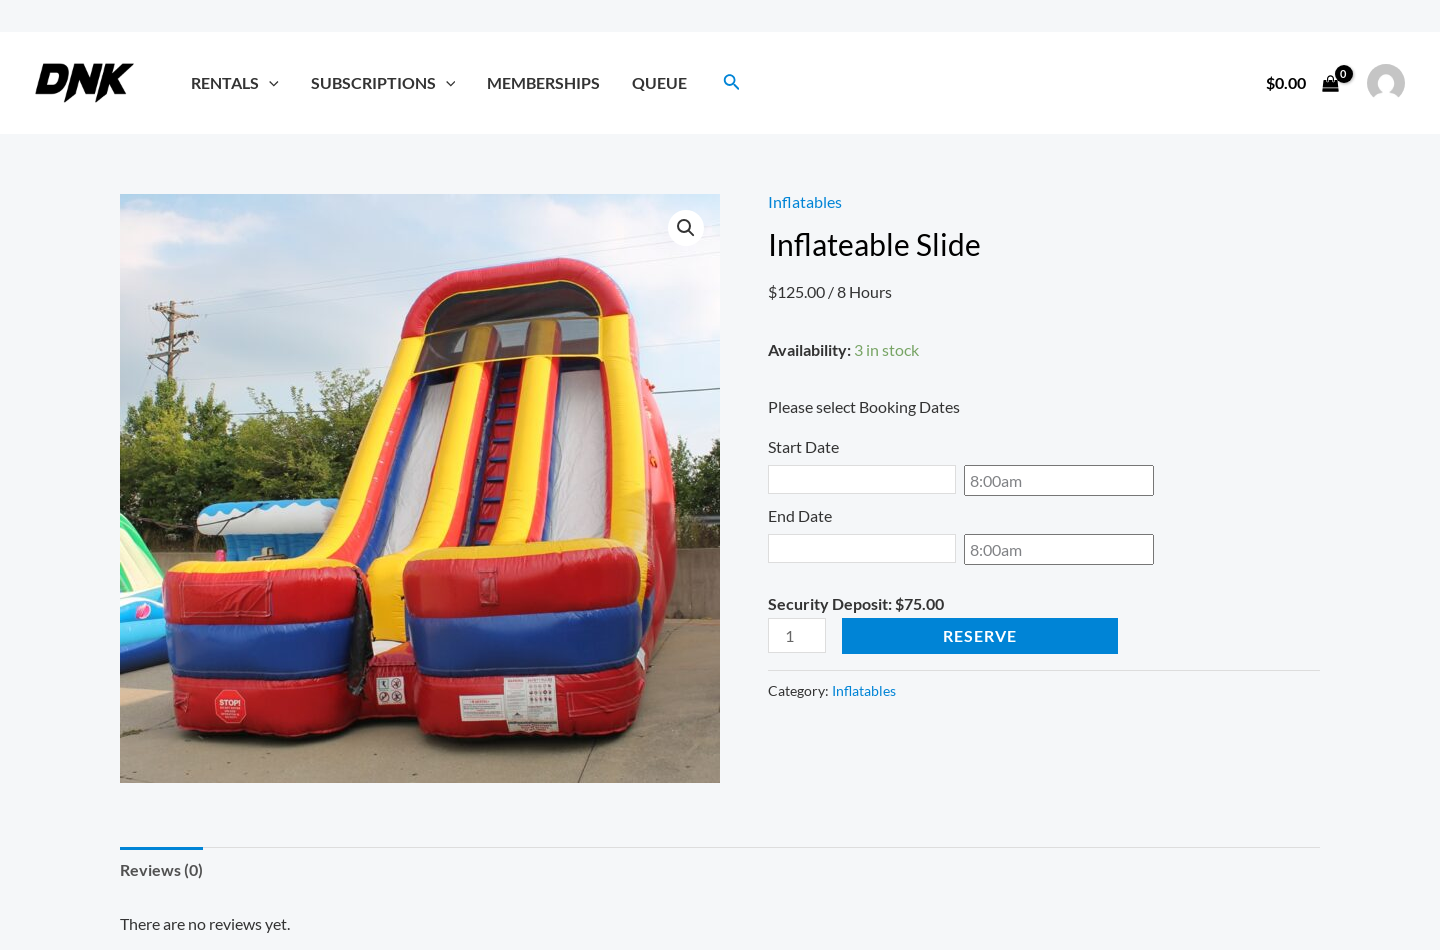
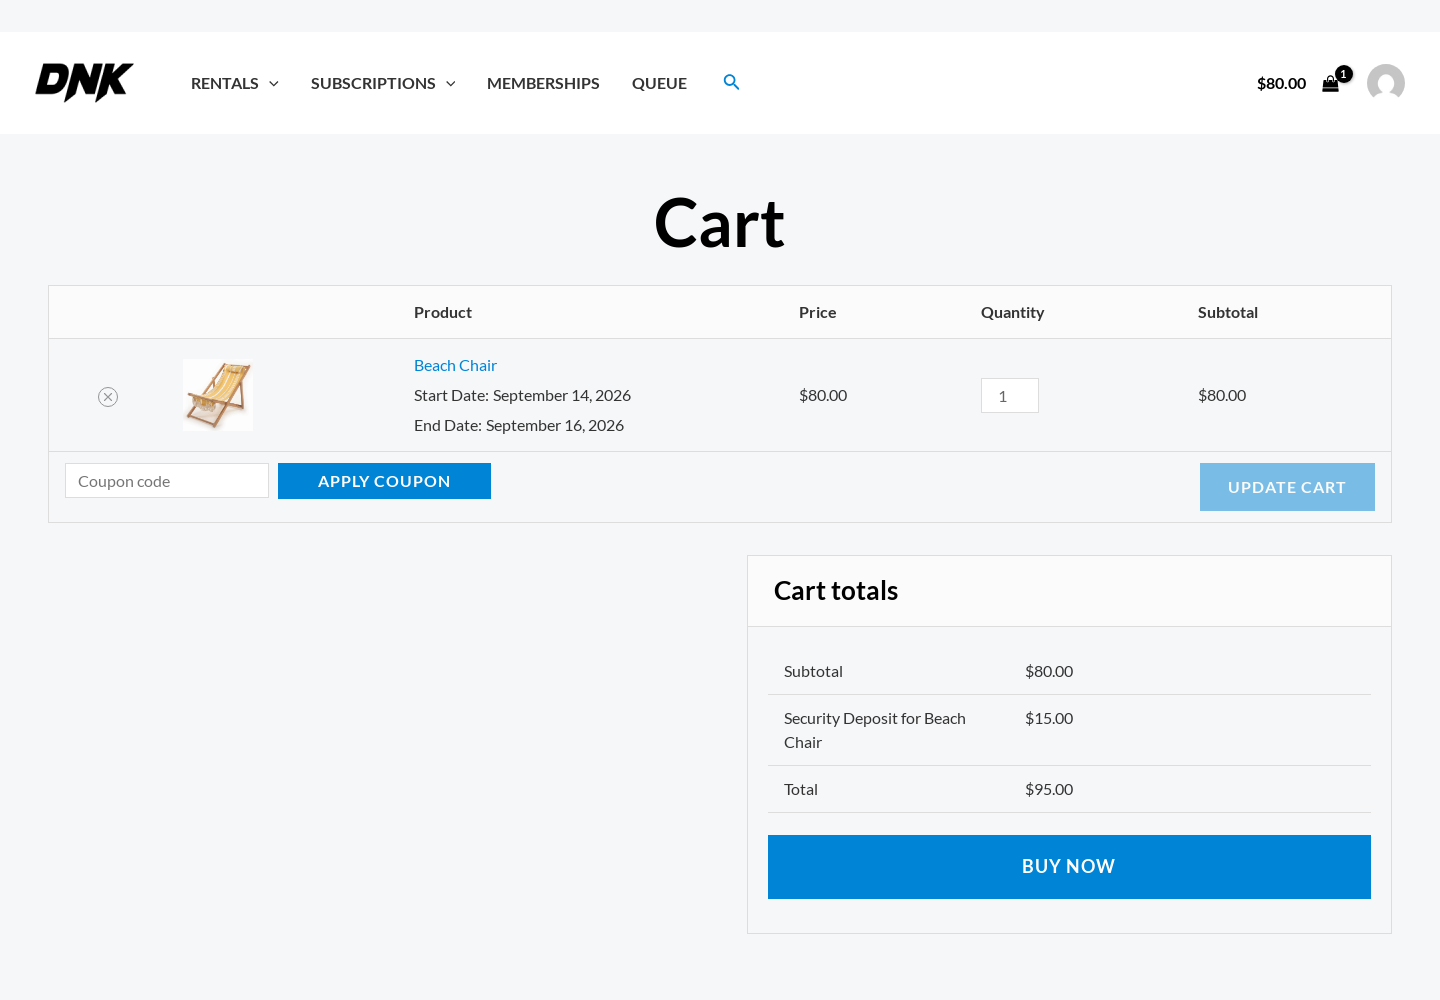
The deposit then appears on the product page and is added at checkout as a distinct line, so the customer can see exactly what is a charge and what is refundable.
Step 2: Decide how much to charge
Too low and it does not cover the damage. Too high and it kills conversion — a deposit larger than the hire fee makes people abandon the cart. Rules of thumb that hold up across most rental verticals:
| Category | Typical deposit | Reasoning |
|---|---|---|
| Low-value consumables (chairs, crockery) | None, or a small blanket amount per order | Replacement cost is lower than the admin of collecting it |
| Sports and beach equipment | 25–50% of replacement cost | High loss rate, moderate unit value |
| Camera, AV and computers | 50–100% of replacement cost | High value, easily damaged, easily resold |
| Tools and plant | Fixed per item, tied to replacement | Damage tends to be total rather than partial |
| Vehicles | Fixed, often $300–$1,000 | Excess on your own insurance is the natural anchor |
| Formalwear and costume | Cleaning cost plus a margin | Most claims are staining, not loss |
Step 3: Release or retain on return
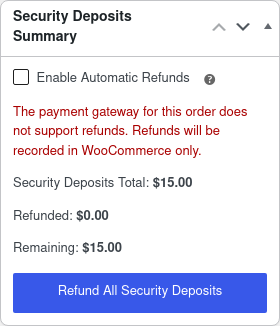
When the item comes back, check it in from the admin side and record its condition. From there you either refund the deposit in full, or retain part of it against the specific line that came back damaged or short. Because the deduction is attached to the order and the condition note, you have a record if the customer disputes it — which is the entire point of taking a deposit properly rather than informally.
Refunds go back through the original payment method via your normal WooCommerce refund flow, so the money returns to the card the customer paid with.
Practical and legal details worth knowing
- Say what the deposit is for, in writing, before it is taken. The hire agreement should state the amount, what can be deducted, and how long a refund takes. Generating that agreement from the order and having it signed online before collection is what makes it enforceable in practice.
- Refund promptly. Slow deposit returns are one of the most common complaints in rental, and one of the cheapest things to fix. Set an internal target — same day as check-in is achievable.
- A charge is not a hold. Most WooCommerce gateways charge the deposit and refund it rather than placing a true pre-authorisation. That is fine, but it means the customer is genuinely out of pocket in the meantime — so size it accordingly and refund fast.
- Consumer protection rules vary by country. Some jurisdictions limit what you can deduct or require itemised evidence. Check your local position before setting deductions as policy.
- Photograph condition at check-out and check-in. The deposit process is only as strong as the evidence behind it.
Try the whole loop
On the free live demo you can book an item with a deposit, then check it back in from the admin side and see the deposit resolve. If you are setting the store up from scratch, start with how to add equipment rentals to your WooCommerce store and then set your turnaround times.