
Regular – Start and End Date #
This is the default type of calendar. The customer will select the start and end dates by clicking in the input boxes which will then popup the calendars:

Fixed Rental Lengths #
This can be configured globally in
rentals > settings > calendar options > length for fixed rental selection
rentals > settings > calendar options > Fixed selection type
Here is an example setup:
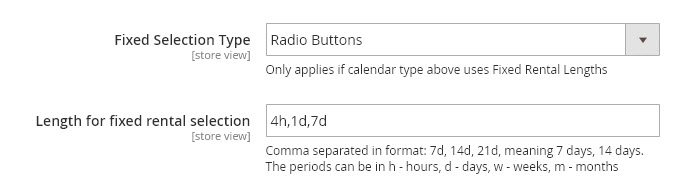
and what it would look like on the product page:
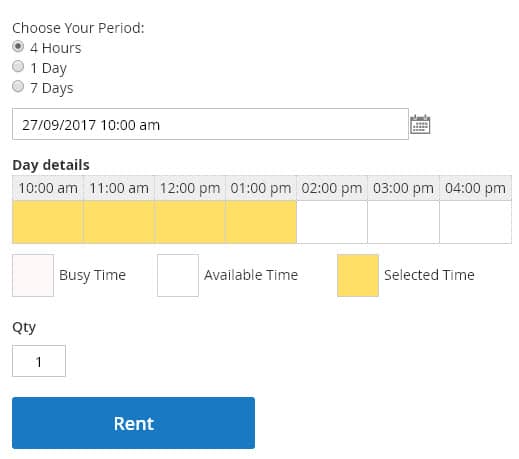
You can also set fixed rental lengths by product (rather than globally) to do this go to edit your product and then the rental heading, and adjust these settings (make sure to uncheck “use config settings”)


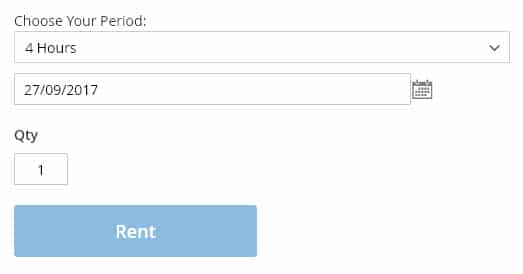
You will notice this time we chose “drop down” for fixed selection type the product page will look like this:
Fixed Rental Lengths With No Calendar #
It is possible to just have a rent button for products with no calendars. The first available date will be auto-selected for the rental, and the rental length will be the fixed rental length that you put. Follow the same instructions as above for fixed rental lengths.
- Rentals > Settings > Calendar > Autoselect and Hide Start Date should be Yes
- Rentals > Settings > Calendar > Fixed Selection Type should be drop down
- Rentals > Settings > Calendar > Length for fixed rental selection should only have one fixed length like 4d if you want the auto-selected fixed length to be 4 days. Since the fixed length selector will be hidden don’t select multiple fixed lengths.
You can also do the same things as above on a product by product basis by editing the product and configuring the same options under the “Rental” heading.
Enabling Time of Day #
This is done from the edit product page and the field will appear usually above the SKU entry, it looks like this:

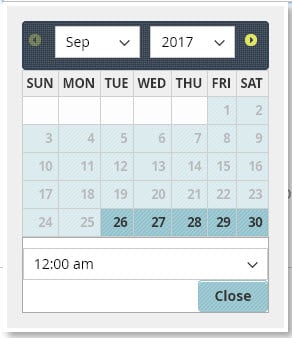
When this is enabled, the product will have a time of day selection in the calendar:
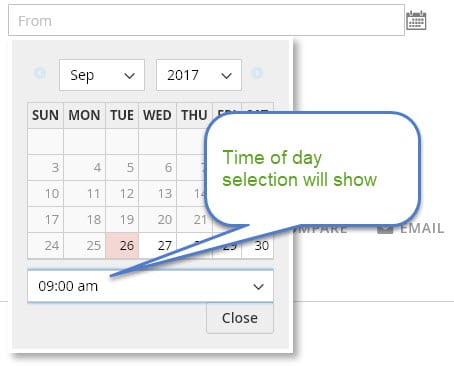
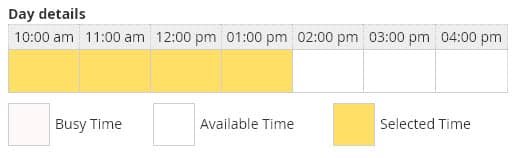
along with a grid below the calendar so the customer can see what time of day has been selected:
Calendar Options #
The following settings can be found under rentals > settings > calendar options
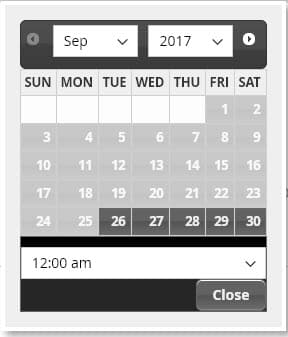
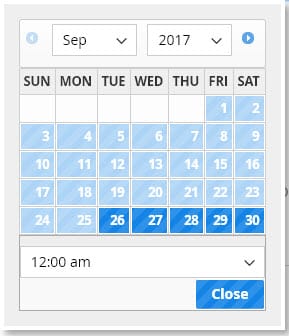
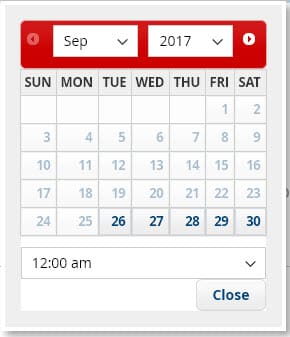
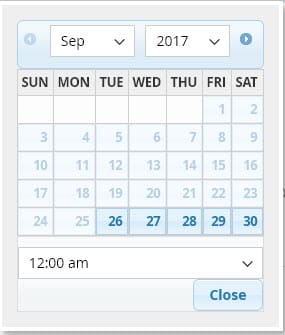
Theme Style #
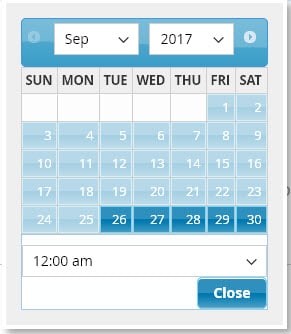
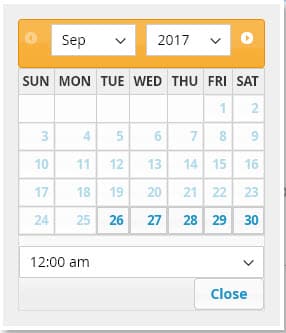
You can set the color/theme style of the calendar, these are the options available:
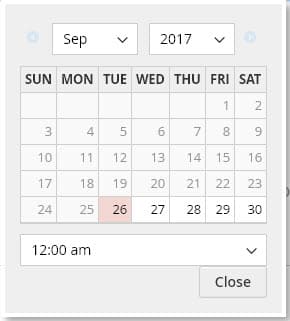 Default |
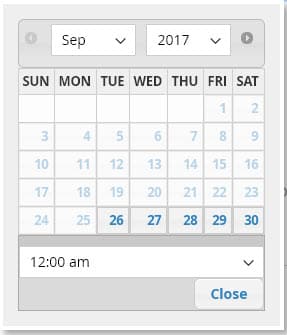
 Start |
 Lightness |
 Darkness |
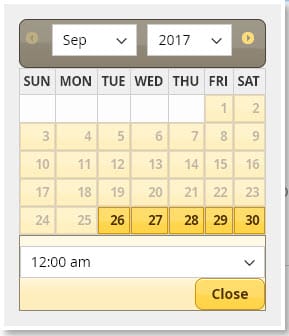 Sunny |
 Redmond |
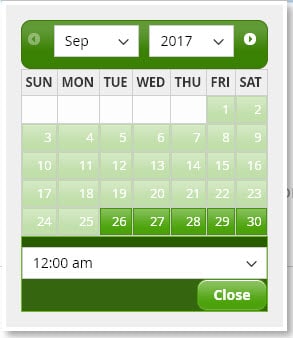 Le Frog |
 Excite Bike |
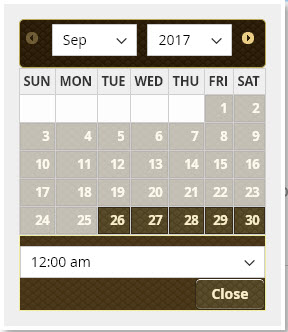 Swanky Purse |
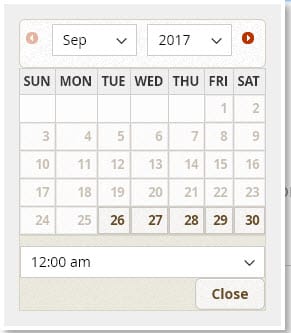 Pepper Grinder |
 Blitzer |
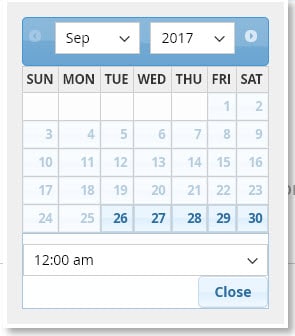
 Cupertino |
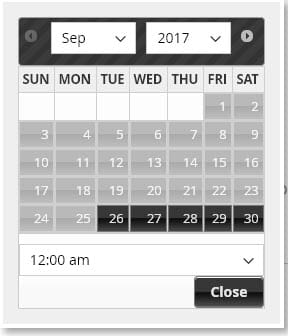
 Overcast |
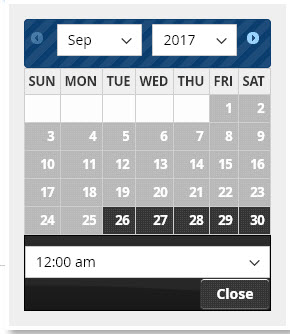
 Black Tie |
 Dot Love |
 Hot Sneaks |
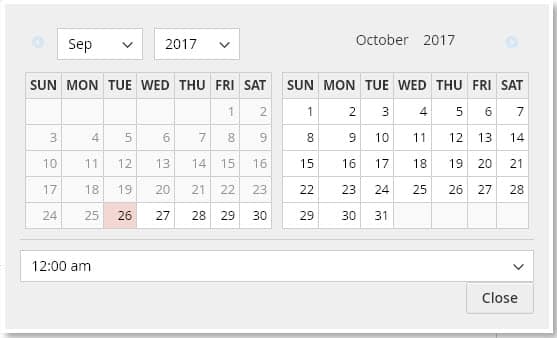
Number of months to show on date picker #
The format is [1,1] where the first number represents the number of rows, and the second number the number of columns. So if you wanted 1 row with 2 calendars you would put [1,2] and it would look like this on the product page calendar popup:
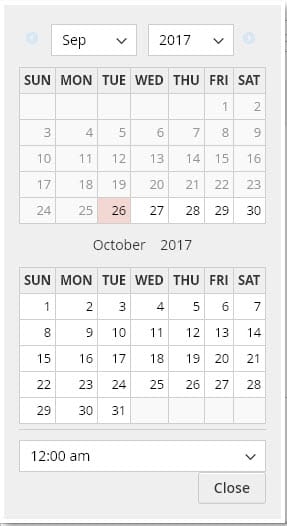
If you rather wanted 2 rows and 1 column you would put [2,1] and it would look like this:
Always show calendar #
Experimental feature: If this is enabled, the customer will not have to click the start or end date to see the calendar. When enabled the calendar shows by default on the product page.
All products in order must use the same start and end dates #
When enabled if a customer adds a product to the shopping cart for certain dates say September 1 – 5, then goes to rent another product but changes the dates to September 6 – 10, when they try to add the second product to the cart it will show an error message that all products in the order must use the same start and end dates.
Keep start/end dates for session #
When enabled and the customer chooses start/end dates for a product and adds it to the shopping cart, these same start and end dates will be pre-filled when they go to rent other products.