Table of Contents
Calendar Widget On Homepage #
- Go to admin > content > pages and edit your homepage
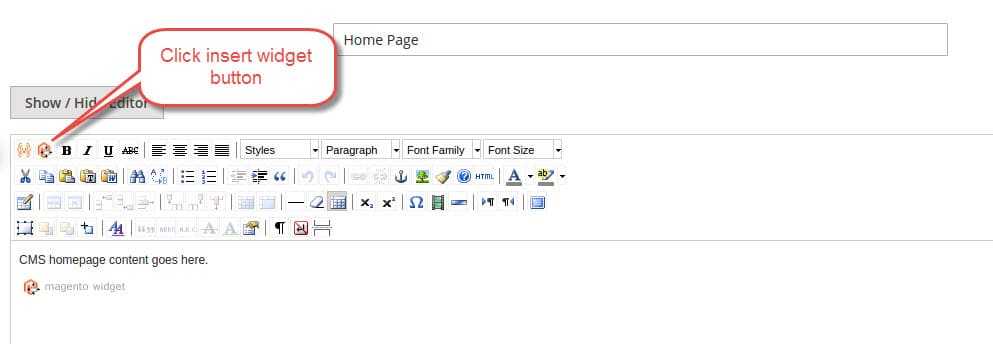
- Click the insert widget button. Chose “Rental Calendar” and set the options. You can set the category id to any of your categories, or an all products category (see instructions below on how to make an all products category)
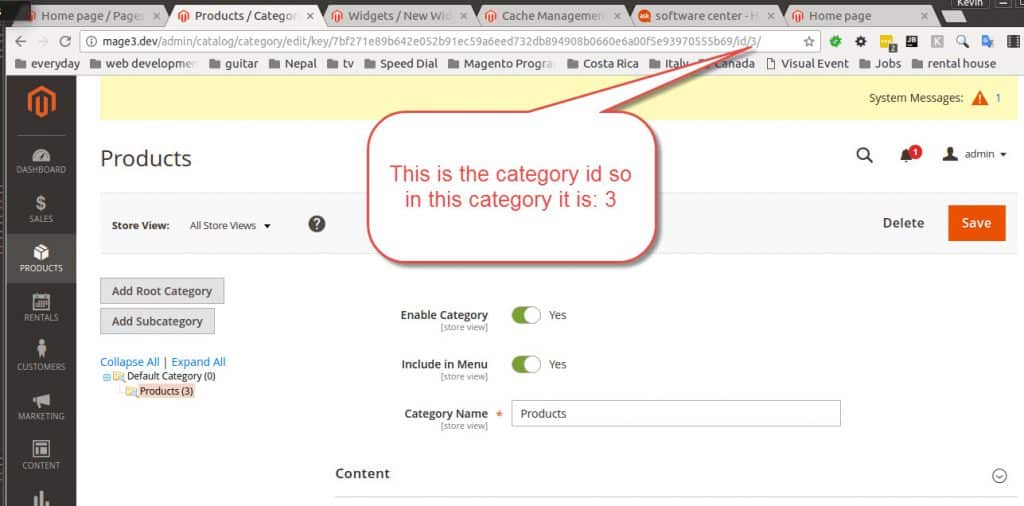
- This is how to know what your category id is. Go to admin > products > categories and click on the category you want, it will be in the url bar:
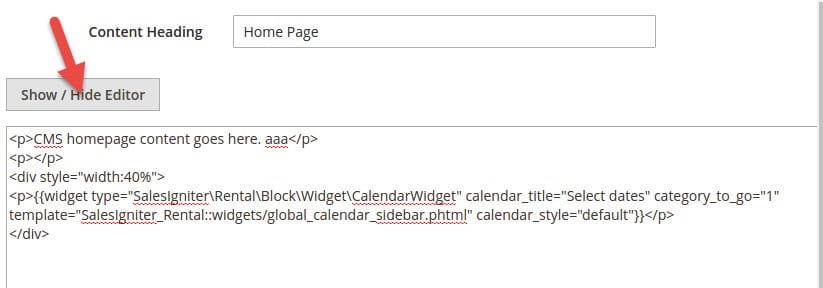
- You may also want to add a wrapper div so that the calendar widget is not 100% width on your homepage. To do so click the show / hide editor button and wrap the widget template code with:
<div style="width:50%">
// auto inserted widget code
</div>
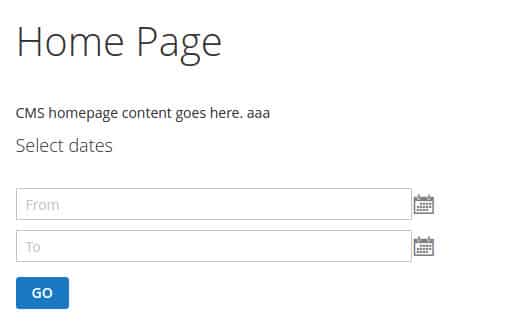
- When you are done it will look something like this:
How To Add An All Products Category #
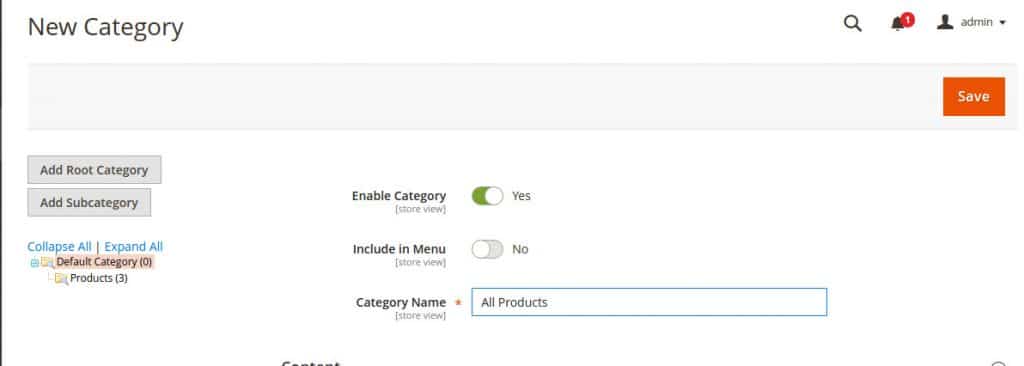
- Go to admin > products > categories and click the default category and then click add subcategory.
- Now you will probably want to hide the All Products category from your menu
- After you have added it, whenever you add products, make sure that you add them to your all products category
Category Widget On Sidebar #
- Go to admin > content > widgets and click the add widget button. For type chose Rental Calendar and template chose your current template (by default it is Magento Luma)
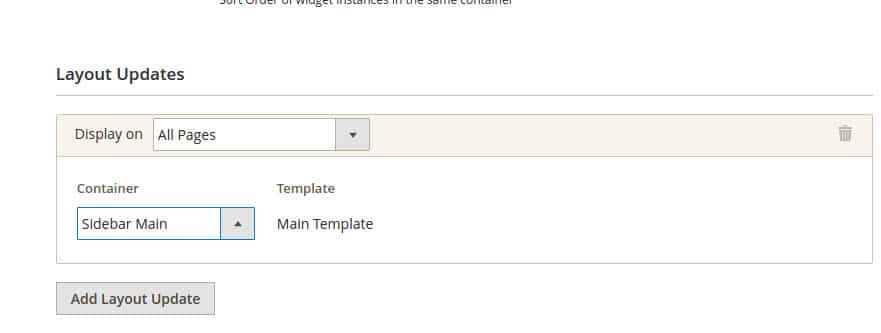
- Now you can give your widget a title and assign it to your views (to assign it to all just click the top All Store Views hold down shift and chose the bottom one). Now click the add layout update from here chose All Pages and then for the container chose the Sidebar Main
- On the widget options tab (on the left) leave the category id blank (otherwise when people click go it will go to a different category – the category id feature is mainly for the homepage)
- When you are done it will look something like this:


