
Every physical unit of a serial-tracked rental product is a serial: this van, that excavator, the third tent on the shelf. The product’s stock says how many units you have; its serials say which ones are out, which are back and which are off hire. New to serials? Start with the Serials Quickstart Guide, which explains when to track units by serial number and when a quantity is enough.
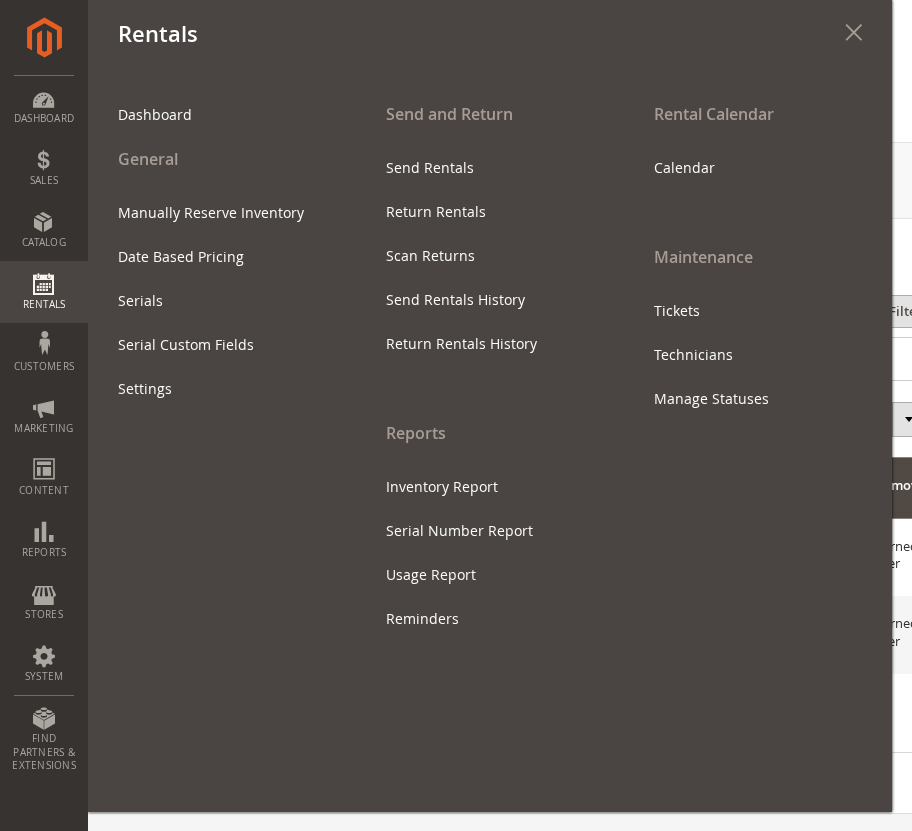
Rentals > General > Serials lists every serial of every product in one grid. Use it to find a unit, see what is out, print labels, and add or remove units without opening products one by one.
The grid needs the Serials: list, add, edit, delete permission. See Serials Settings and Permissions.
What the grid shows #
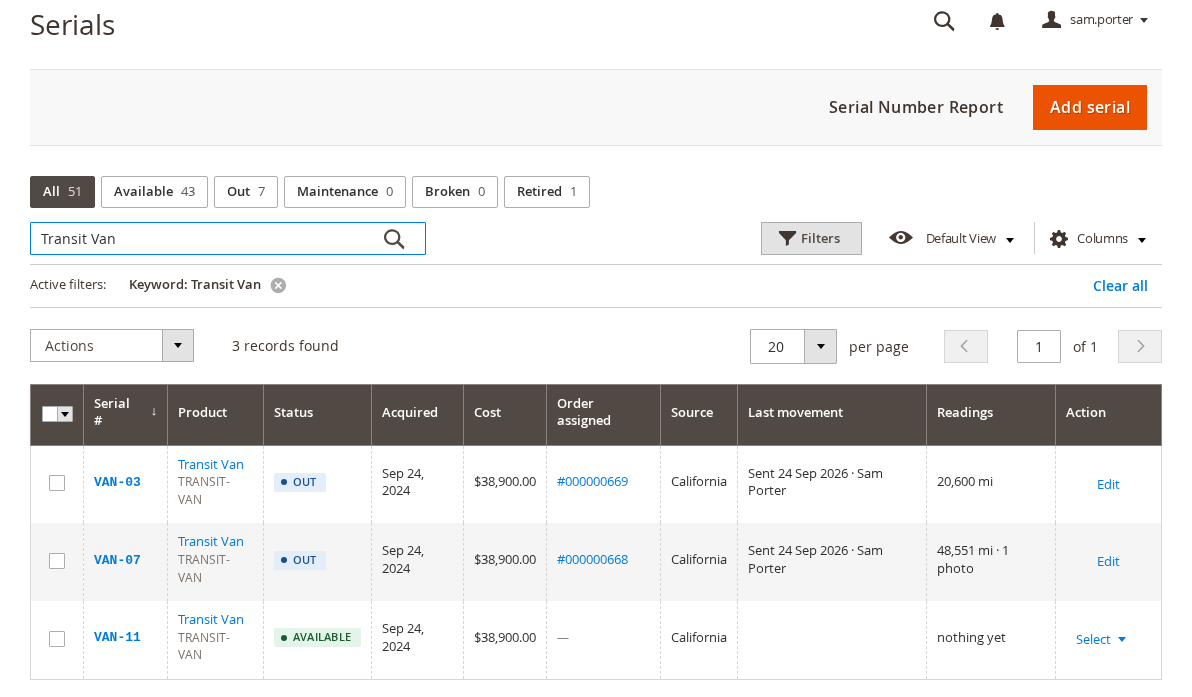
| Column | What it shows |
|---|---|
| Serial # | The code printed on the unit’s label. Click it to open the serial’s own page. |
| Product | The product’s name and SKU, linked to the product. |
| Status | Available, Out, Maintenance, Broken or Retired. |
| Acquired | The date the unit joined your inventory. The Usage report can measure the unit’s utilization from this date. |
| Cost | What the unit cost. |
| Order assigned | The order the unit is out on, linked to it. A unit out on a reservation made in the admin without an order shows the reservation number instead. |
| Source | With Multi-Source Inventory, the source the unit sits in. |
| Last movement | The unit’s latest send or return, with the date and who recorded it. |
| Readings | Up to two current meter readings and the number of photos, for a unit with serial custom fields. nothing yet means it has fields but nothing has been recorded. |
| Action | Edit opens the serial’s page. Delete is offered only on a unit that can be deleted. |
The ID and SKU columns are hidden by default. Show them, or hide others, from the Columns menu. The grid remembers your columns and your sort for each admin user.
Finding a unit #
- Search. Type a serial code, a product name, a SKU or an order number and press Enter. A USB or Bluetooth barcode scanner types like a keyboard, so scanning a label into the search box finds that unit.
- Status tabs. All, Available, Out, Maintenance, Broken and Retired, each with a count. The counts are for all your serials; click a tab to list only that status.
- Filters. Serial #, product name, SKU, status, date acquired (from / to), cost (from / to), order and source.
- Sorting. Click the Serial #, Product, Status, Acquired or Cost heading.
Printing labels #
- Tick the serials you want labels for. The checkbox in the heading selects the whole page or everything the search found.
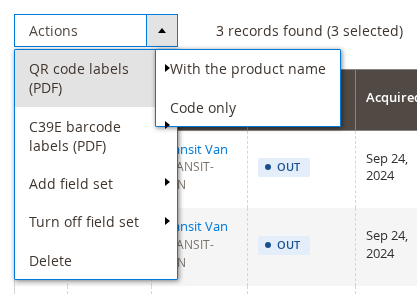
- Open Actions and choose QR code labels (PDF) or C39E barcode labels (PDF).
- Choose With the product name or Code only. The PDF downloads.
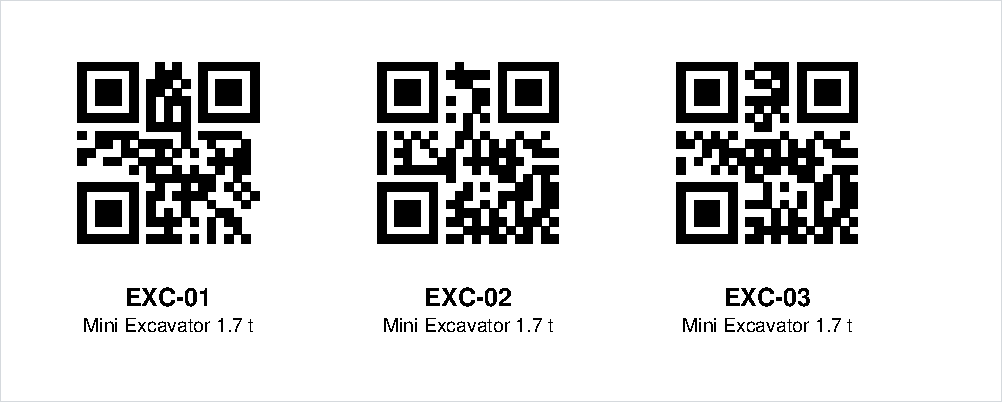
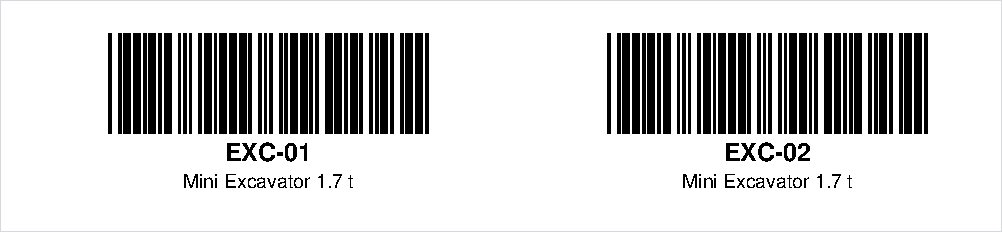
- Both are plain A4 sheets of 30 labels: QR codes five to a row, Code 39 barcodes three to a row. The serial code is printed under every symbol, and the product name under that when you ask for it.
- The sheets are not laid out for a particular brand of label, so print a test page first, or print on full-page sticker paper and cut the labels out.
- Up to 2,000 labels at a time.
- Code 39 holds plain ASCII only, so a code with accented letters or other scripts, or one too long for the label, prints a short note in place of the barcode. Use QR labels for those units: a QR code holds any code.
Field sets for many units at once #
Actions > Add field set gives the selected serials a field set of their own, and Actions > Turn off field set turns one of their product’s field sets off for them. It does the same as the Field sets on this serial box on each serial’s page, for many units at once, and needs the Serial page permission. A serial that would end up with two fields with the same key is skipped, and the message says why. See Serial Custom Fields and Field Sets.
Deleting serials #
Select the serials and choose Actions > Delete. The confirmation tells you what goes with them before anything is deleted:
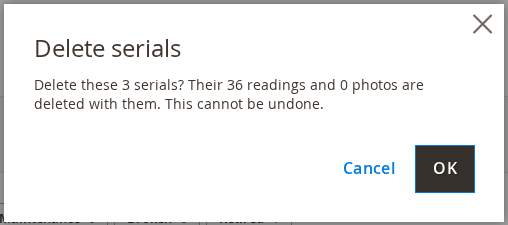
- A unit that is out on a rental, or held by a maintenance ticket, is never deleted. Return it, or close the ticket, first. The confirmation lists those units and leaves them alone.
- The serial’s custom field readings and photos are deleted with it, for good.
- Sends and returns already recorded keep the code they were made with.
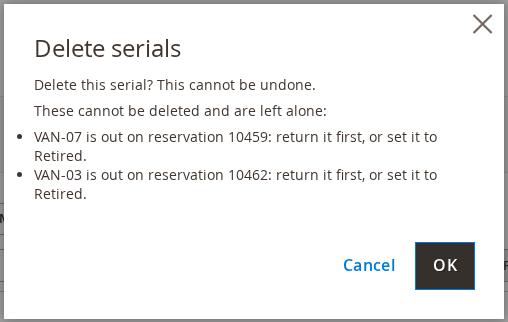
For a unit that is leaving your inventory, set its status to Retired instead of deleting it. A retired unit is never offered at send time, but its history, its cost and its readings stay available to the reports.
From the grid to the rest #
- Add serial adds a unit without going through the product. See Adding and Editing a Serial.
- Serial Number Report opens the report that shows what every unit is doing, day by day. That report has a Serials button back to this grid.


