
Sales Igniter Xero Sync posts your WooCommerce orders, payments and refunds to Xero as they happen. Each paid order becomes an invoice and a payment. Refunds post as credit notes by themselves. If Xero is down or something isn’t set up yet, nothing is lost: the order waits and tells you what to fix.
It works on any WooCommerce store. With Rentals & Bookings it also knows what a booking’s extra orders are, so a balance, a late fee or a security deposit never posts as a new sale: see rentals, deposits and locations.
It needs WordPress 6.6, WooCommerce 8.0 and PHP 8.1 or newer, a Xero organisation, and a Xero login that can connect apps to it. Your site must use an https address: Xero only sends people back to https addresses.
The pages after this one cover how orders post, the queue, the order screen and past orders and rentals, deposits and locations.
Your license key #
Open WooCommerce > Xero. Settings open once a license key is activated on this site: paste the key from your account on rentalbookingsoftware.com and activate it. An expired key keeps everything working; only updates pause until you renew.
How Xero Sync connects to Xero #
Xero Sync connects through a Xero app that you make for your own store at developer.xero.com. You make it once, in about five minutes, and then press Connect. Your store then talks to Xero directly: the app’s keys stay on your site, encrypted, and nothing passes through our servers.
A Xero app is free for one organisation. Xero’s Starter tier has no charge and covers up to 5 connected organisations, with 1,000 API calls a day for each (Xero’s developer pricing page, developer.xero.com/pricing, checked 9 November 2026). Your store uses one connection.
Connect to Xero, step by step #
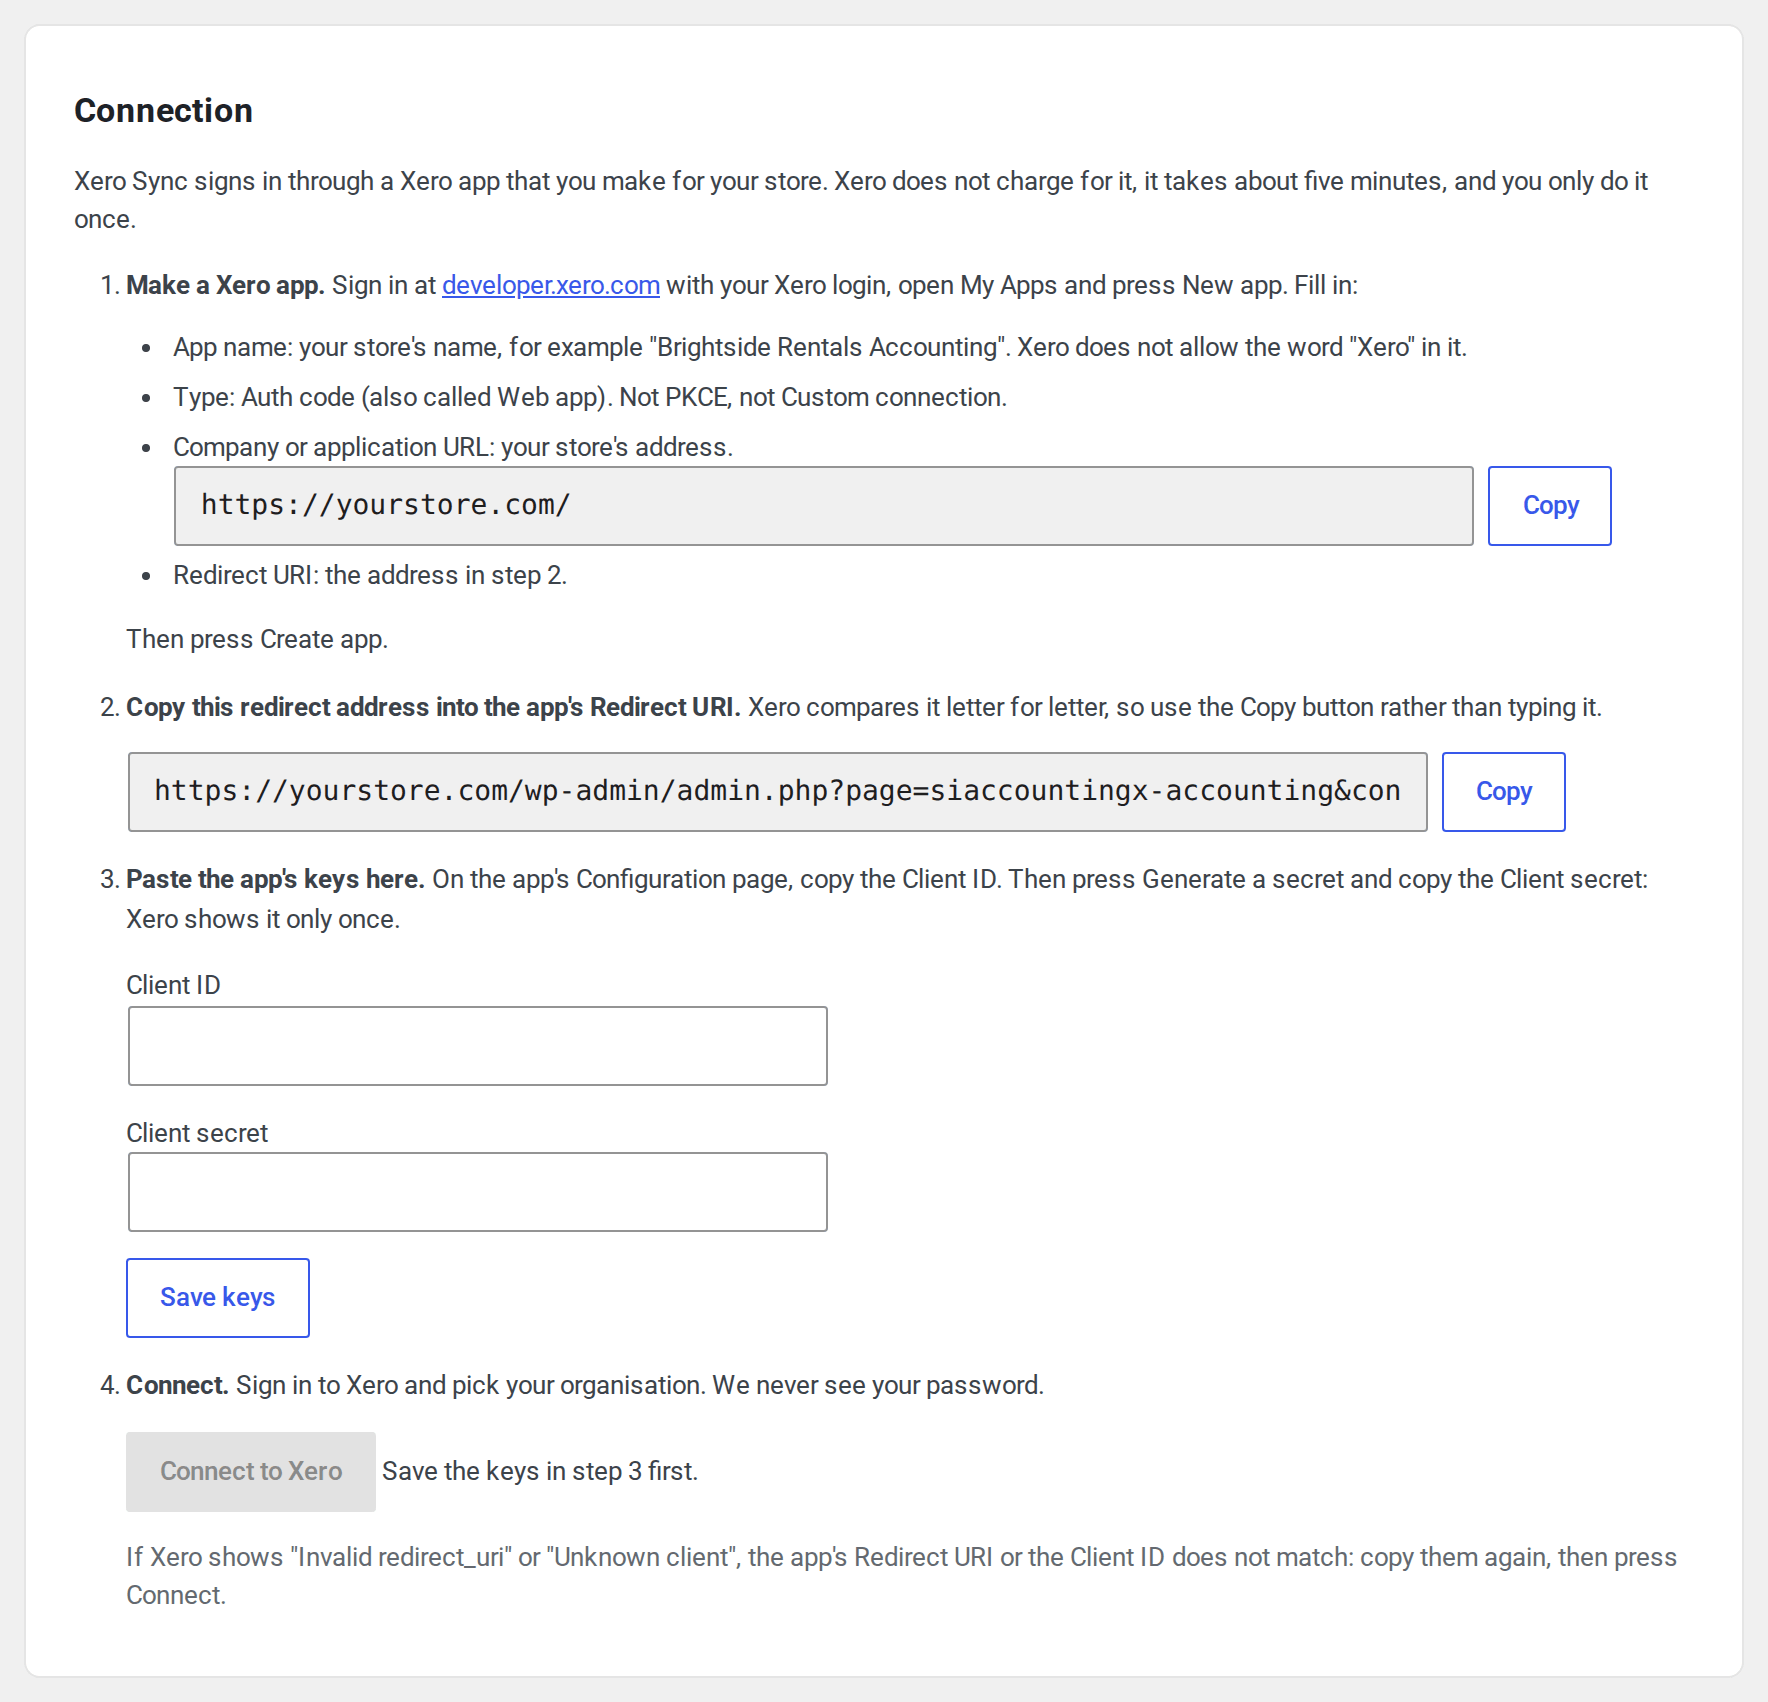
The first step of the set-up on WooCommerce > Xero shows the same four steps, with your own addresses filled in and a Copy button beside each. They are also on the Settings tab until you connect.
Step 1: make a Xero app #
- Go to developer.xero.com and sign in with your Xero login.
- Open My Apps and press New app.
- App name: your store’s name, for example “Brightside Rentals Accounting”. Xero doesn’t allow the word “Xero” in an app’s name.
- Type: choose Auth code, which Xero has also called Web app. Don’t choose PKCE (mobile or desktop) or Custom connection.
- Company or application URL: your store’s address, as shown in step 1 on the screen.
- Redirect URI: paste the address from step 2 below.
- Accept Xero’s terms and press Create app.
Step 2: copy the redirect address #
The screen shows your store’s redirect address. It looks like this, with your own domain:
https://yourstore.com/wp-admin/admin.php?page=siaccountingx-accounting&connect=1
Press Copy and paste it into the app’s Redirect URI box. Xero compares it letter for letter: https or http, www or not, and every character after the question mark must match. Use the Copy button rather than typing it, and open the screen from your store’s usual address.
Step 3: paste the app’s keys #
- In your new app at developer.xero.com, open Configuration.
- Copy the Client ID and paste it into Client ID on the screen.
- Press Generate a secret, copy the Client secret and paste it into Client secret on the screen. Xero shows a secret only once. If you lose it, generate a new one.
- Press Save keys.
You don’t pick any permissions in Xero: Xero Sync asks for the ones it needs when you connect.
Step 4: connect #
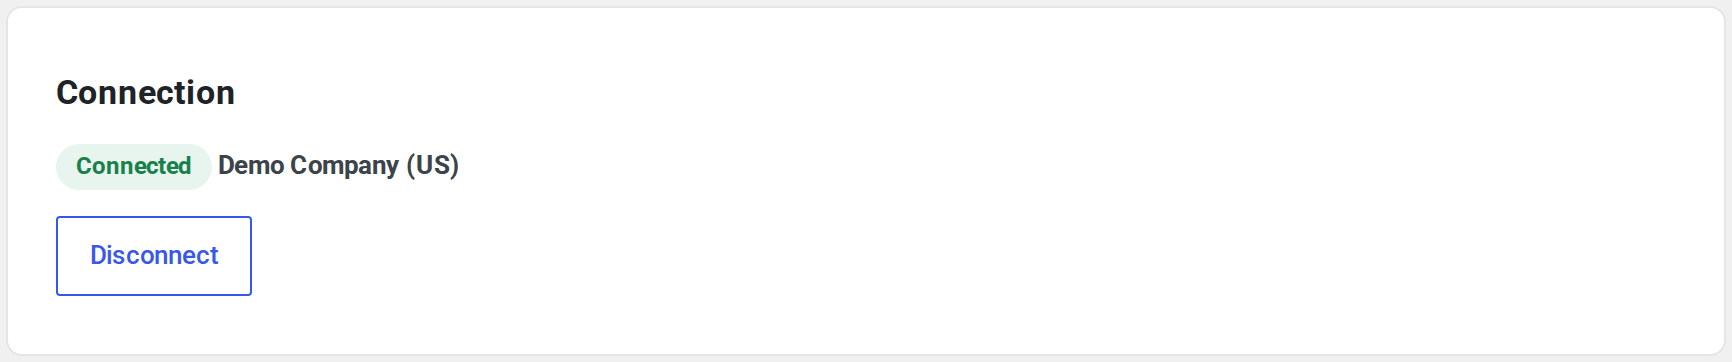
Press Connect to Xero. Before you leave your site, Xero Sync asks Xero whether it accepts the app’s Client ID and redirect address, and tells you on the screen if it doesn’t. Then sign in to Xero, pick your organisation and allow the connection. You come back to the set-up, connected. We never see your Xero password.
Finish the set-up #
After Connect, the set-up runs five more steps. Nothing is sent to Xero until the last one.
- How orders post. Choose when an order posts and how customers are kept. The next page explains each choice.
- Where lines post. Pick the Xero account for product sales, shipping, fees and rounding. Each row starts with a suggestion read from your chart of accounts, such as your Sales account. Xero Sync uses the accounts you already have: it never creates accounts in Xero.
- Taxes. Choose a Xero tax rate for each WooCommerce tax rate, and one for lines with no tax. The screen suggests the Xero rate with the same percentage.
- Payments. Pick the bank account each payment method’s money goes to, and one for any other method.
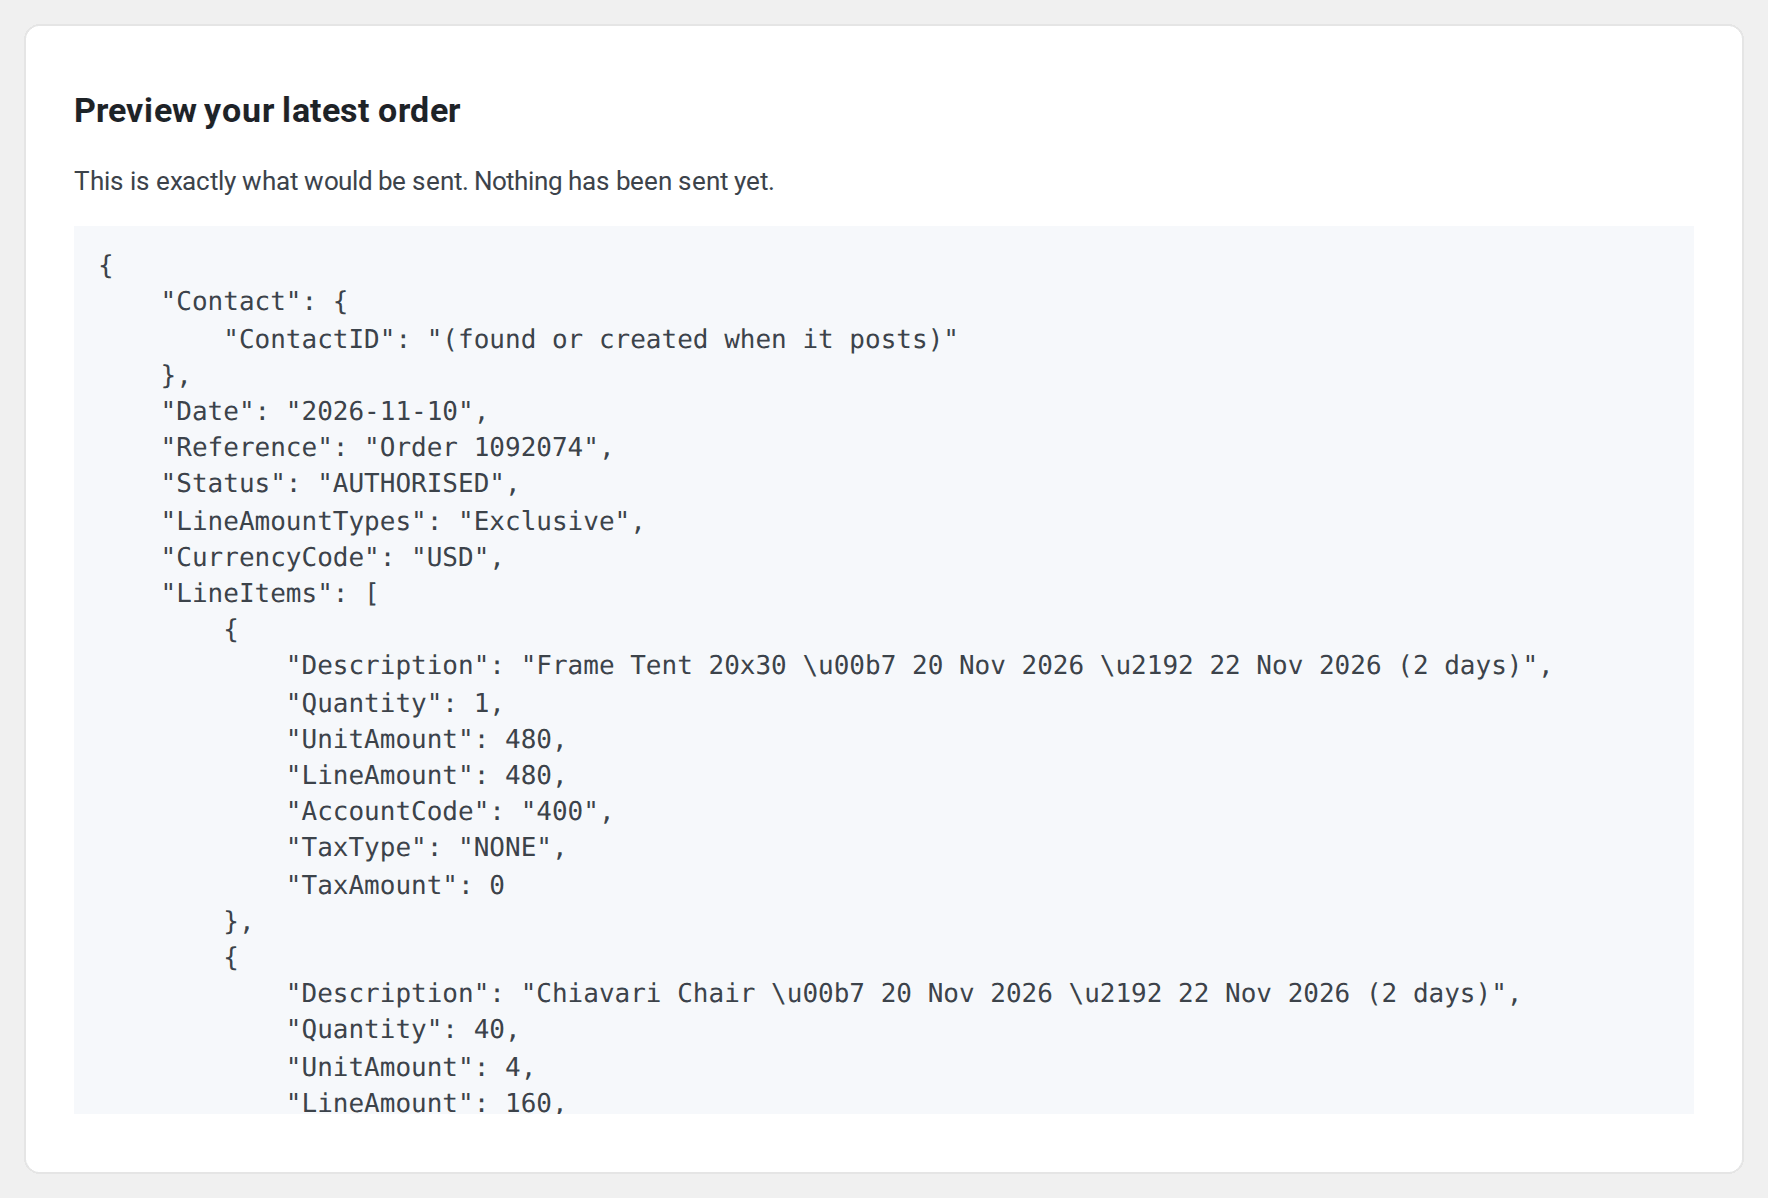
- Preview your latest order. You see exactly what would be sent. Nothing has been sent yet.
Press Start syncing. New orders post from that moment. Orders from before stay out of your books until you import them on the Import tab.
If Xero refuses #
- “Xero does not have this site’s redirect address” (Xero itself says “Invalid redirect_uri”): the app’s Redirect URI doesn’t match step 2 exactly. Copy it again with the Copy button, paste it over the old one in the app’s Configuration, save the app, and press Connect again.
- “Xero does not know this Client ID” (Xero says “Unknown client or client not enabled”): copy the Client ID again from the app’s Configuration page, paste it in step 3, save, and press Connect.
- “Xero did not accept your app’s Client secret”: generate a new secret on the app’s Configuration page, paste it in step 3, save, and press Connect.
- “Xero says this app can’t sign in this way”: the app was made with the wrong type. Make a new app with the type Auth code (Web app) and paste its keys.
- Xero says your organisation has reached its limit of uncertified apps: Xero lets one organisation connect to only two apps that Xero hasn’t certified, and an app you make yourself is one of them. Remove an app you no longer use under Settings > Connected apps in Xero, then press Connect again.
A staging copy of your site #
A staging copy has its own address, so it can’t use the live site’s redirect address. Make a second app for it, named so you can tell them apart, and connect it to Xero’s Demo Company rather than your real books.
Disconnect #
Disconnect on the Settings tab ends the connection. Nothing in your books changes. If the connection is lost on its own, the screen says so and Reconnect brings it back. Nothing waiting is lost.
To use another Xero app or a new secret, press Disconnect, then follow the four steps again. While connected, the screen shows which app’s Client ID the connection uses.
Both Xero and QuickBooks #
Sales Igniter QuickBooks Sync can run on the same store. Each plugin posts to its own books on its own, so orders go to both. That’s useful while you move from one system to the other, and the screen reminds you it’s happening.


