
From version 1.0.63 this is a single plugin. The booking engine — our free Rentals & Bookings Lite plugin — is included inside it, so there is nothing else of ours to install. If you already run the free Lite plugin, leave it where it is: your products, settings and bookings are used exactly as they are, and the separate copy is switched off for you during activation. You can delete it afterwards.
- Install WooCommerce. Go to Plugins > Add New in your admin, search for "WooCommerce", then install and activate it.
- Install Secure Custom Fields. Search for "Secure Custom Fields" on the same screen and activate it. It is free, from WordPress.org, and it stores the rental settings on your products. WordPress will normally offer to install it for you when you activate our plugin, because it is declared as a requirement.
- Upload our plugin. Plugins > Add New > Upload Plugin, choose the zip you downloaded, then activate it. If you upload by FTP instead, the folder inside
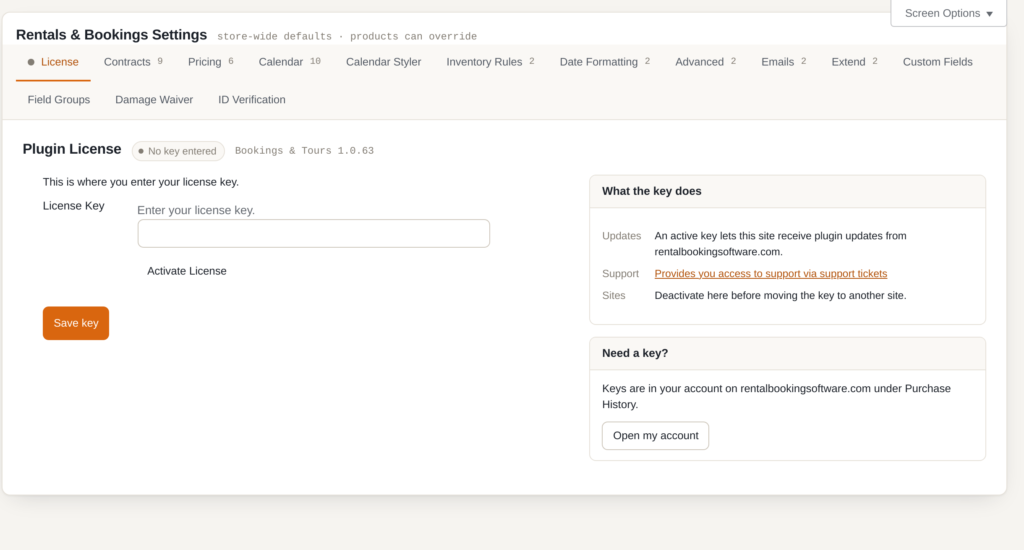
wp-content/pluginsmust be calledsibooking. - Enter your licence key. It is in your order email. Go to Rentals > Settings and paste it into the License tab, then click Activate. The other settings tabs stay locked until the licence is active.
- You are ready. A Rentals menu appears in your admin, with the dashboard, bookings, calendar, inventory and settings, and every product gains a Rentals & Bookings tab in its product data panel.
Upgrading from an older version #
Upgrade in place from the Plugins screen as usual. Two things changed in 1.0.63 and are handled for you: the plugin no longer carries its own copy of Advanced Custom Fields Pro, using the free Secure Custom Fields plugin instead, and a separately installed Lite plugin is deactivated because this one now carries its own copy. Your products, settings, bookings and orders are untouched.


