The Counter sells every kind of product in your store, in one sale, with one payment and one receipt. A rental, a helmet and a bundle can all go on the same sale. This page covers each product type, customers, discounts and parking a sale. Rental dates have their own page: Rentals at the counter.
Finding and adding products #
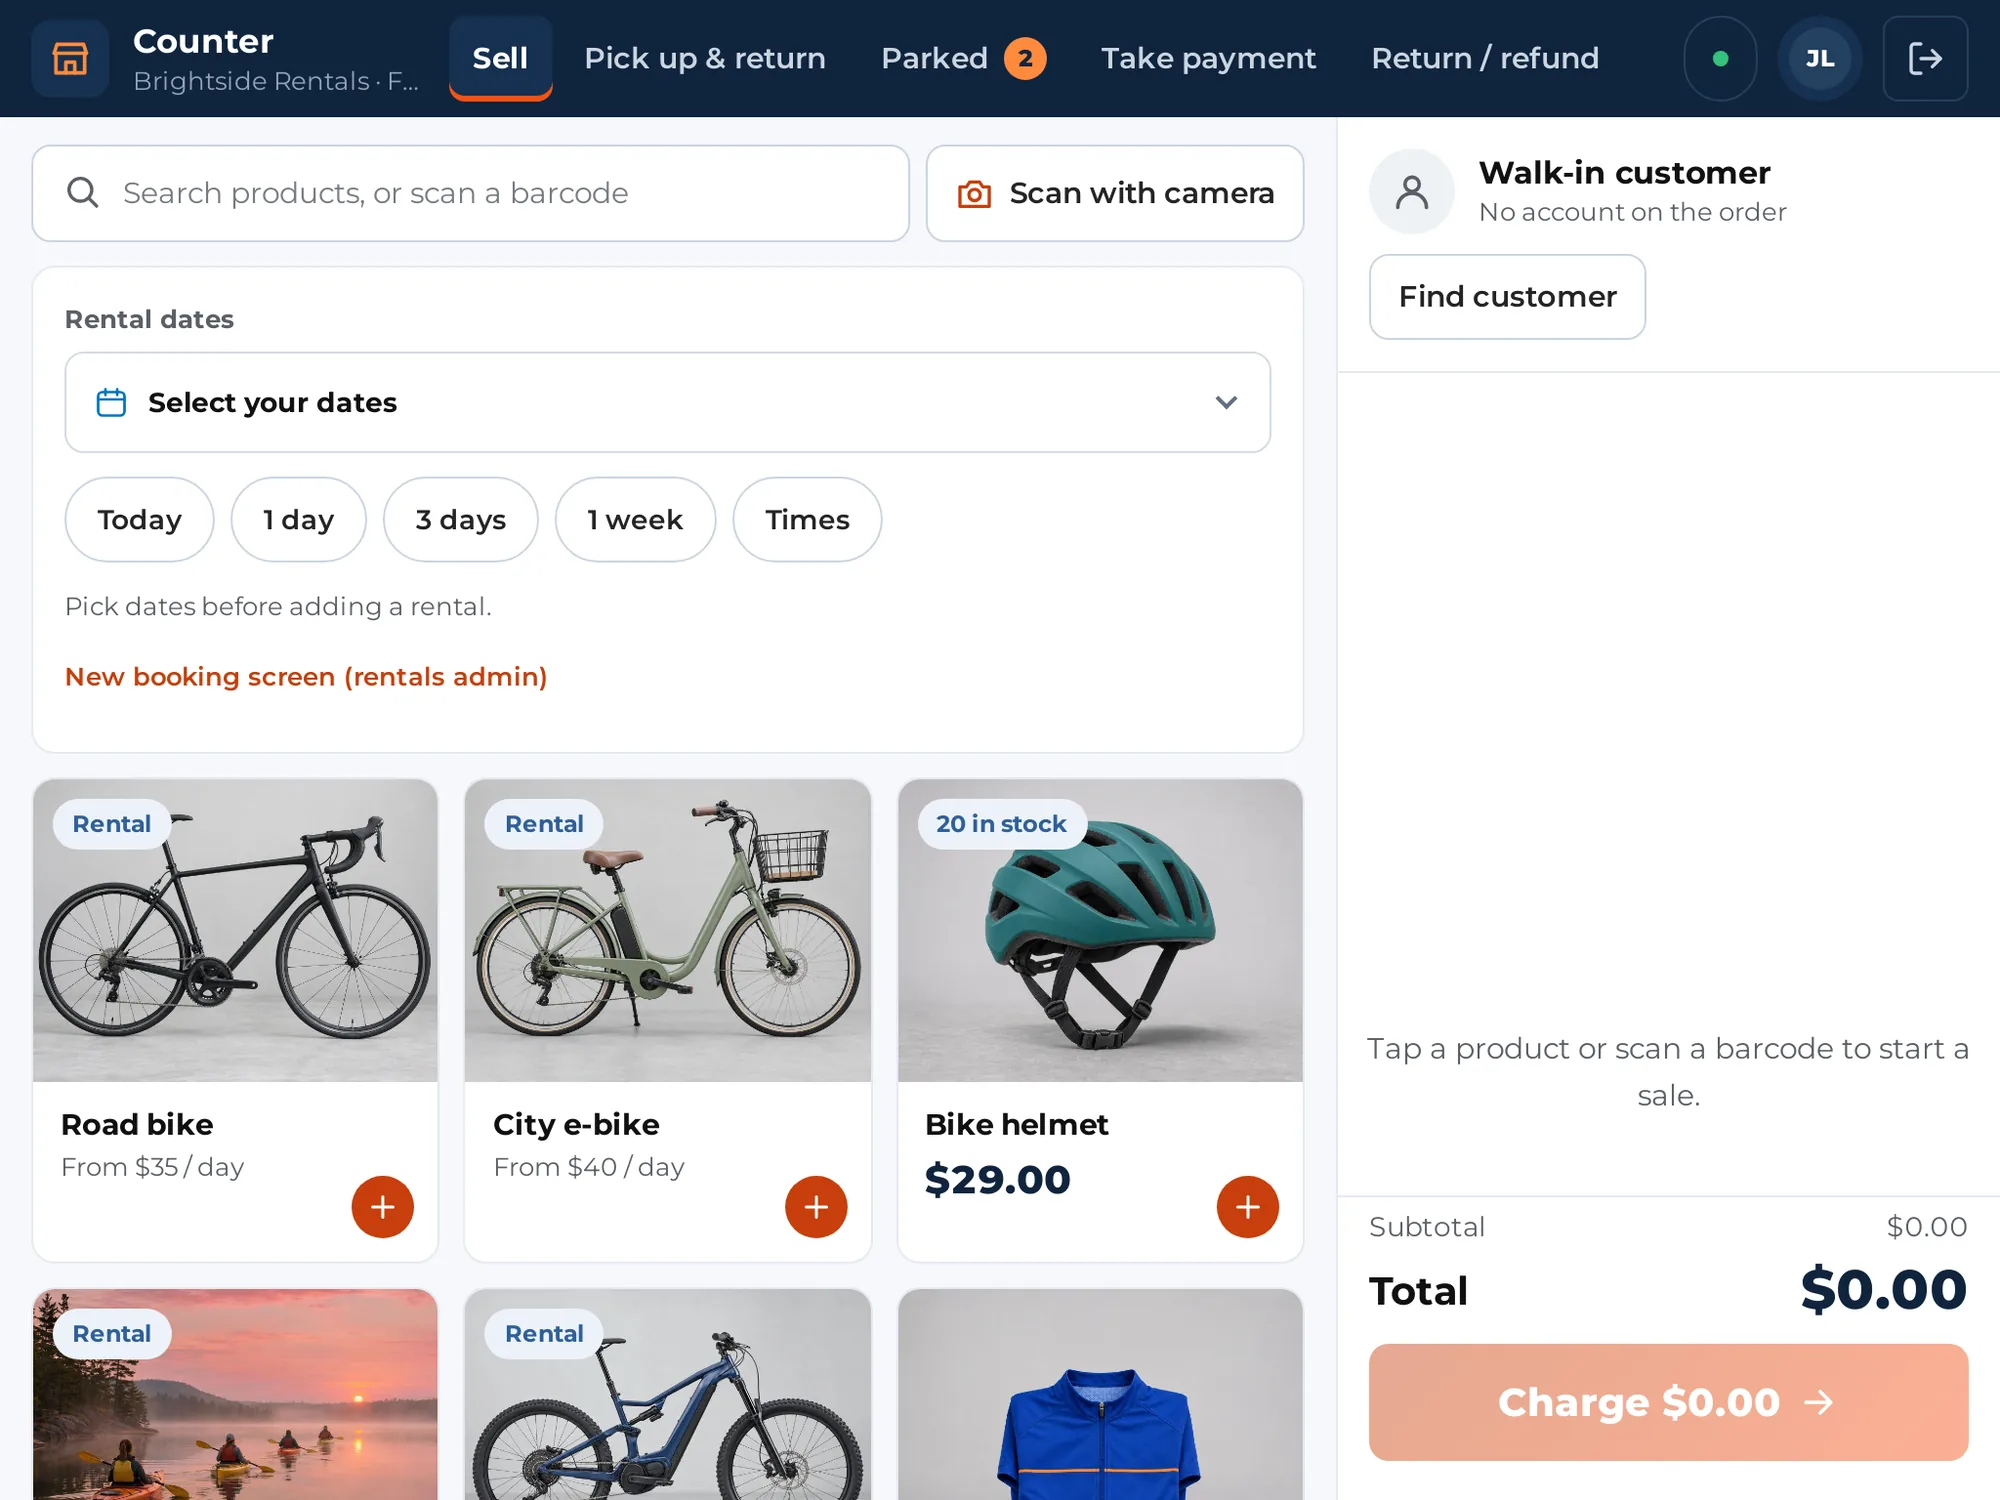
The sell screen has the product grid on the left and the sale on the right. On a phone, use the Products and Sale tabs at the bottom.
- Type in Search products, or scan a barcode to filter the grid. Tap More products at the bottom for the next page.
- Tap a card to add it to the sale. A toast says what was added.
- Use − and + on a line to change the quantity, or × to remove it. Clear removes every line after asking you to confirm.
Cards carry small tags: Rental, Available, a count such as 3 free or None free, Options, Out of stock, and the stock count for sold items such as 12 in stock.
Scanning #
Plug in a barcode scanner that works like a keyboard (it types the code and presses Enter). You do not need to click a field first: the Counter can tell a fast scan from slow typing. A scan, or a code typed into the search box and sent with Enter, finds:
- a product or variation by its SKU or barcode (the product’s GTIN field),
- a rental unit by its serial code or QR label,
- a booking or an order by its number.
If nothing matches you see “Nothing matches the code” followed by the code. See Hardware we tested.
Scanning with the camera #
With Sales Igniter Rentals & Bookings Regular on your store, the Counter also scans with the device’s own camera, through Regular’s scanner. It reads the same codes as a scanner: SKUs, barcodes, serial labels, booking and order numbers.
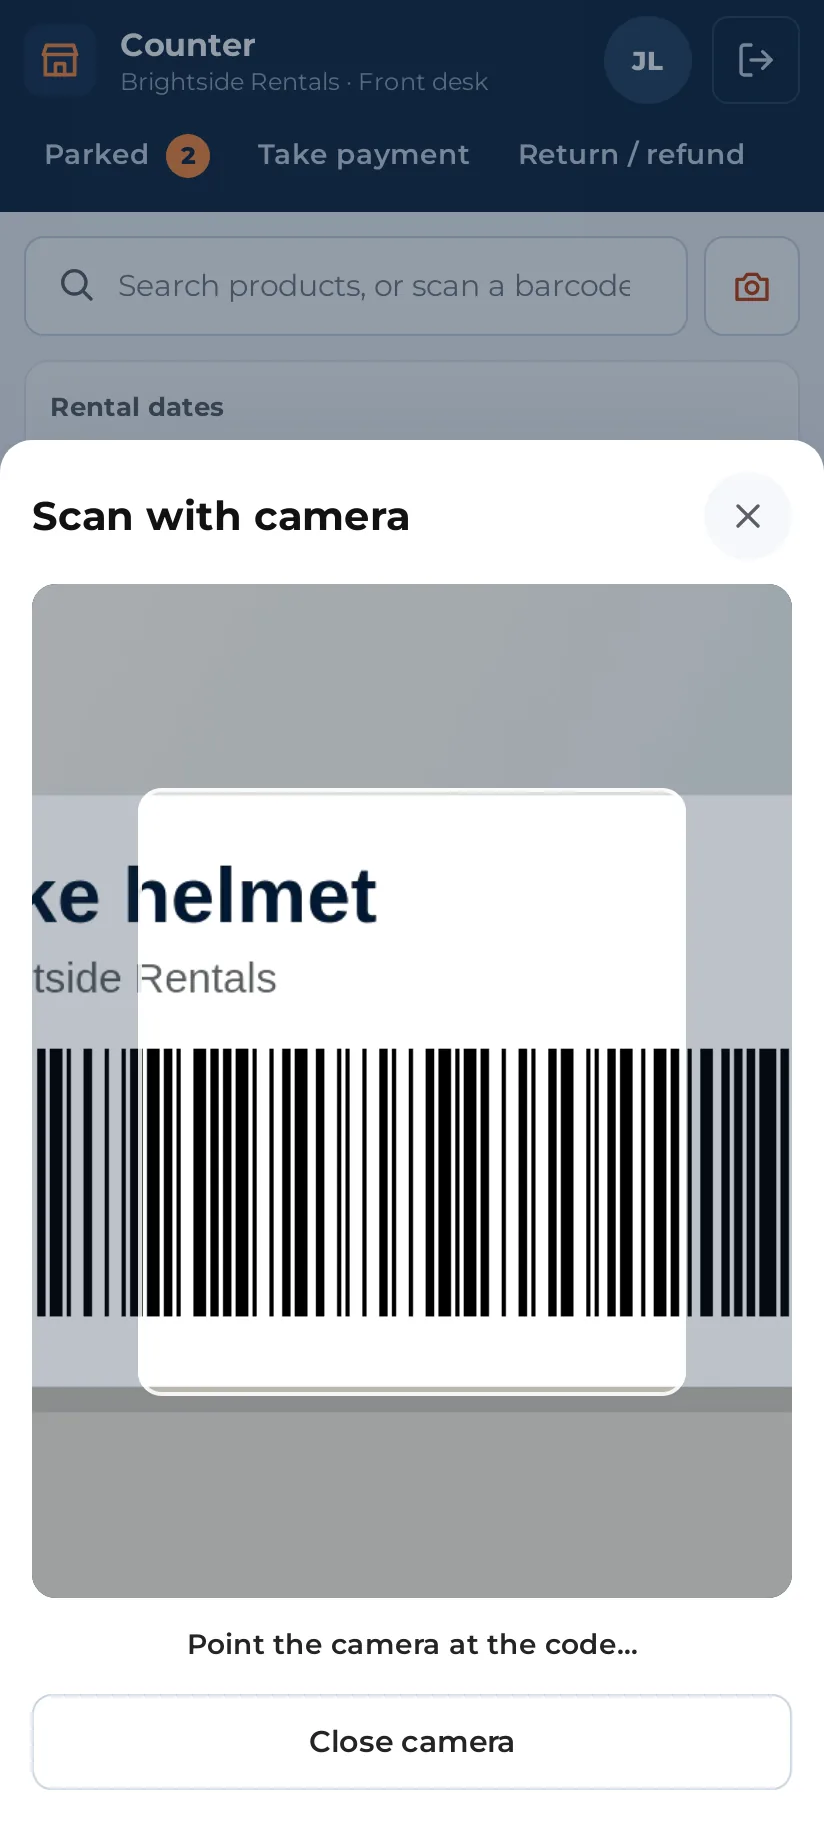
- Tap Scan with camera beside the search box. The first time, the browser asks if the Counter may use the camera: allow it.
- Hold the label in front of the camera. The item goes on the sale and the camera stays open for the next one; a label held in place is counted once.
- Tap Torch in a dark room, and Switch camera to change between the front and back camera.
- Tap Close camera when you are done. The camera also turns off while the Counter is hidden behind another app or tab.
Browsers only give a web page the camera over https, so the button is greyed out, with a sentence saying why, when the site is opened over plain http. Without Regular there is no camera button: scan with a scanner, or type the code.
Product types #
Simple products #
Tap the card and it goes on the sale at the shop price. Sale prices and scheduled sales apply. Virtual and downloadable products work the same way. Download links follow WooCommerce’s usual rules for paid orders.
Variable products #
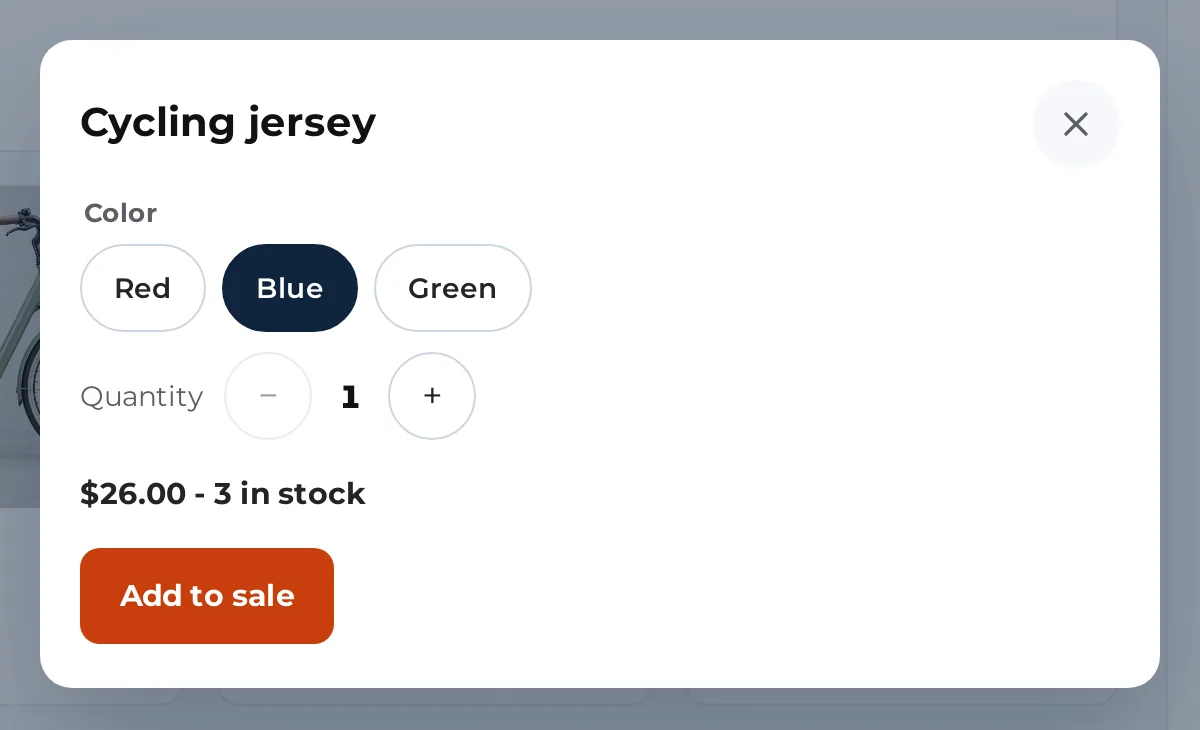
The card is tagged Options. A sheet opens with a button for each value of each attribute (size, colour, and so on). Choose every option. The sheet shows the price and the stock of the variation you chose. If you see “That combination is not sold.” pick again. You can also scan the variation’s own SKU or barcode to add it straight away. Tap Add to sale.
Grouped products #
A grouped product has no price of its own. Tapping it opens its products. Add each one on its own. The sheet says “A group: add its products one by one.”
External products #
Products that link to another website are not sold at the counter. They are left out of the grid. If one is scanned, the Counter says “Sold on another website, not at the counter.”
Rentals #
Rentals need dates first. See Rentals at the counter.
Bundles and composite products #
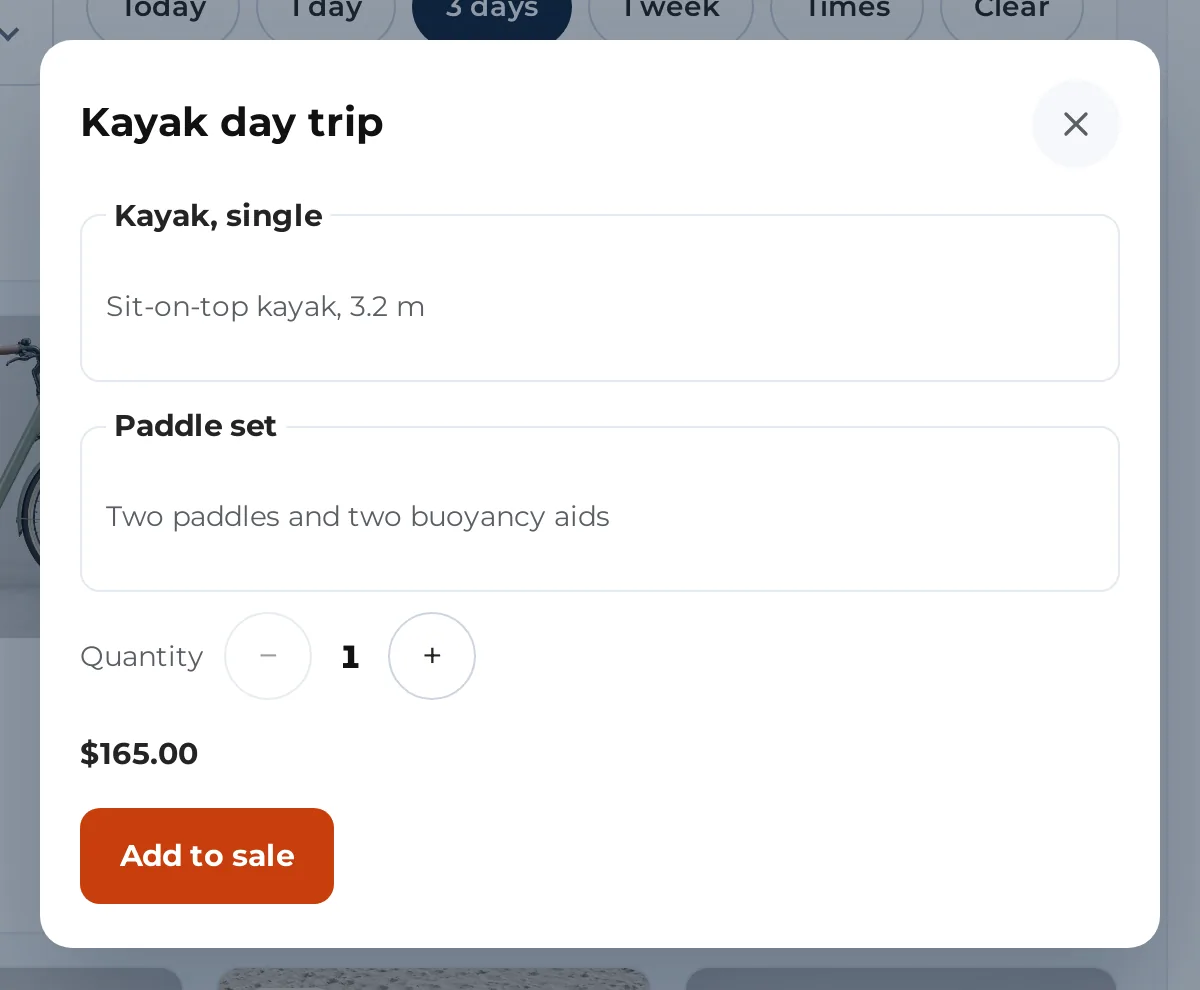
Bundles and composite products open a sheet with their choices. You see each part (or component), its options, and how many. Out-of-stock choices are greyed out and marked “(out of stock)”. Parts that are optional have a None button. The sheet shows the price as you choose, and Add to sale puts the whole bundle on the sale with its parts underneath. Stock is taken from each part.
This works with the Sales Igniter bundles plugin, and with WooCommerce Product Bundles and Composite Products when those are active. If one of those plugins changes in a way the Counter does not know, that type is switched off at the counter with a message instead of breaking a sale.
A part inside a bundle cannot be repriced on its own. Change the price of the whole bundle instead (see Discounts below).
Subscriptions and memberships #
When the Sales Igniter subscriptions plugin is active, a subscription product opens a Pay once or subscribe (or Billing) step with the choices Pay once and Subscribe, billed every followed by the period. Sign-up fee and free trial are shown as notes.
A subscription belongs to a customer. Choose or add the customer before taking payment: you see “A subscription belongs to a customer: choose or add the customer before taking payment.” On the Before payment sheet, a Renewals step lists the renewal terms, and the customer has to tick “The customer agrees to the renewals”. If the sale is paid on the card reader, the card is kept for the renewals. If it is paid any other way, each renewal is paid when it comes due, online or at the counter. A booking deposit cannot be used on a sale with a subscription.
Add-ons at the counter #
Add-ons ask their questions on the Counter, at the moment they would online.
- Security deposits: the deposit goes on the order as it does online, and is released or kept when the rental comes back. See Returns and refunds and Rentals at the counter.
- Custom fields: questions on a product show on its options sheet. Order-level questions appear on the Before payment sheet under Order questions. A damage waiver the store offers appears as a choice such as “Add Damage waiver (price)” and “No thanks”. A waiver the store requires has a tick: “The customer accepts the damage waiver”.
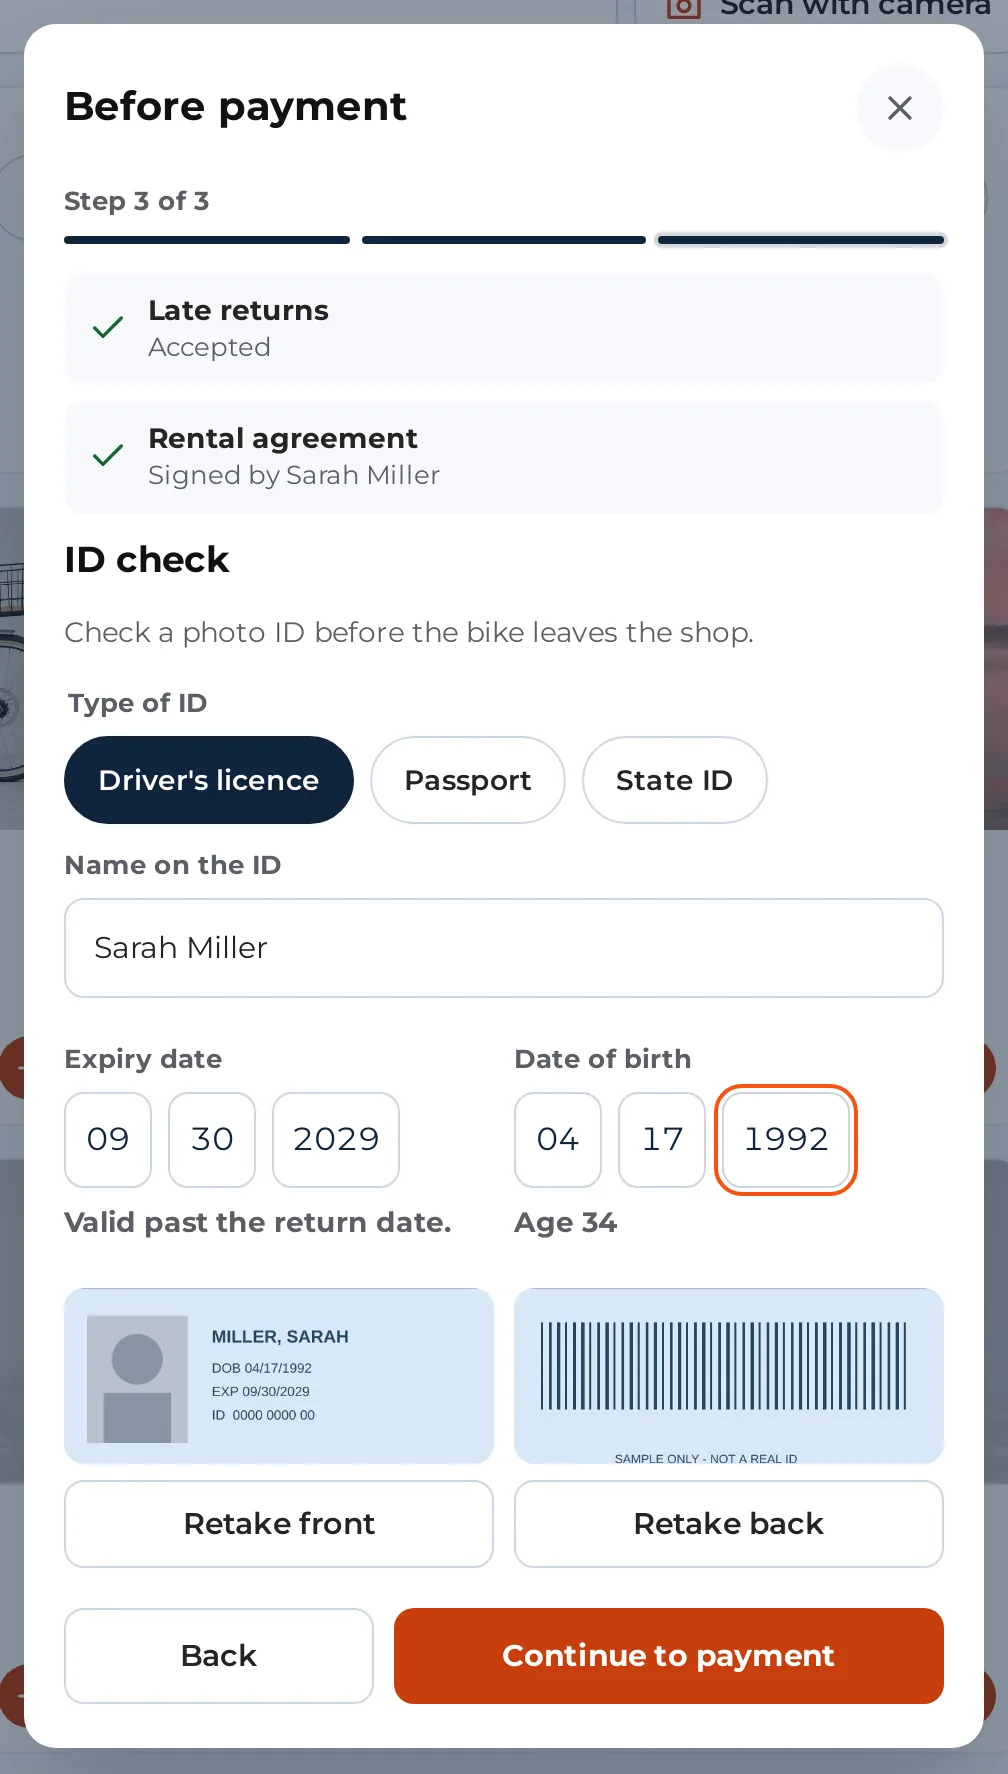
- ID check: when the store asks for ID, the ID check step says “Take a photo of the front of the ID (and the back when it has one).” Choose the Type of ID, type the Name on the ID, the Expiry date and Date of birth, and take the photos with the device camera. Staff cannot continue without it when it is required.
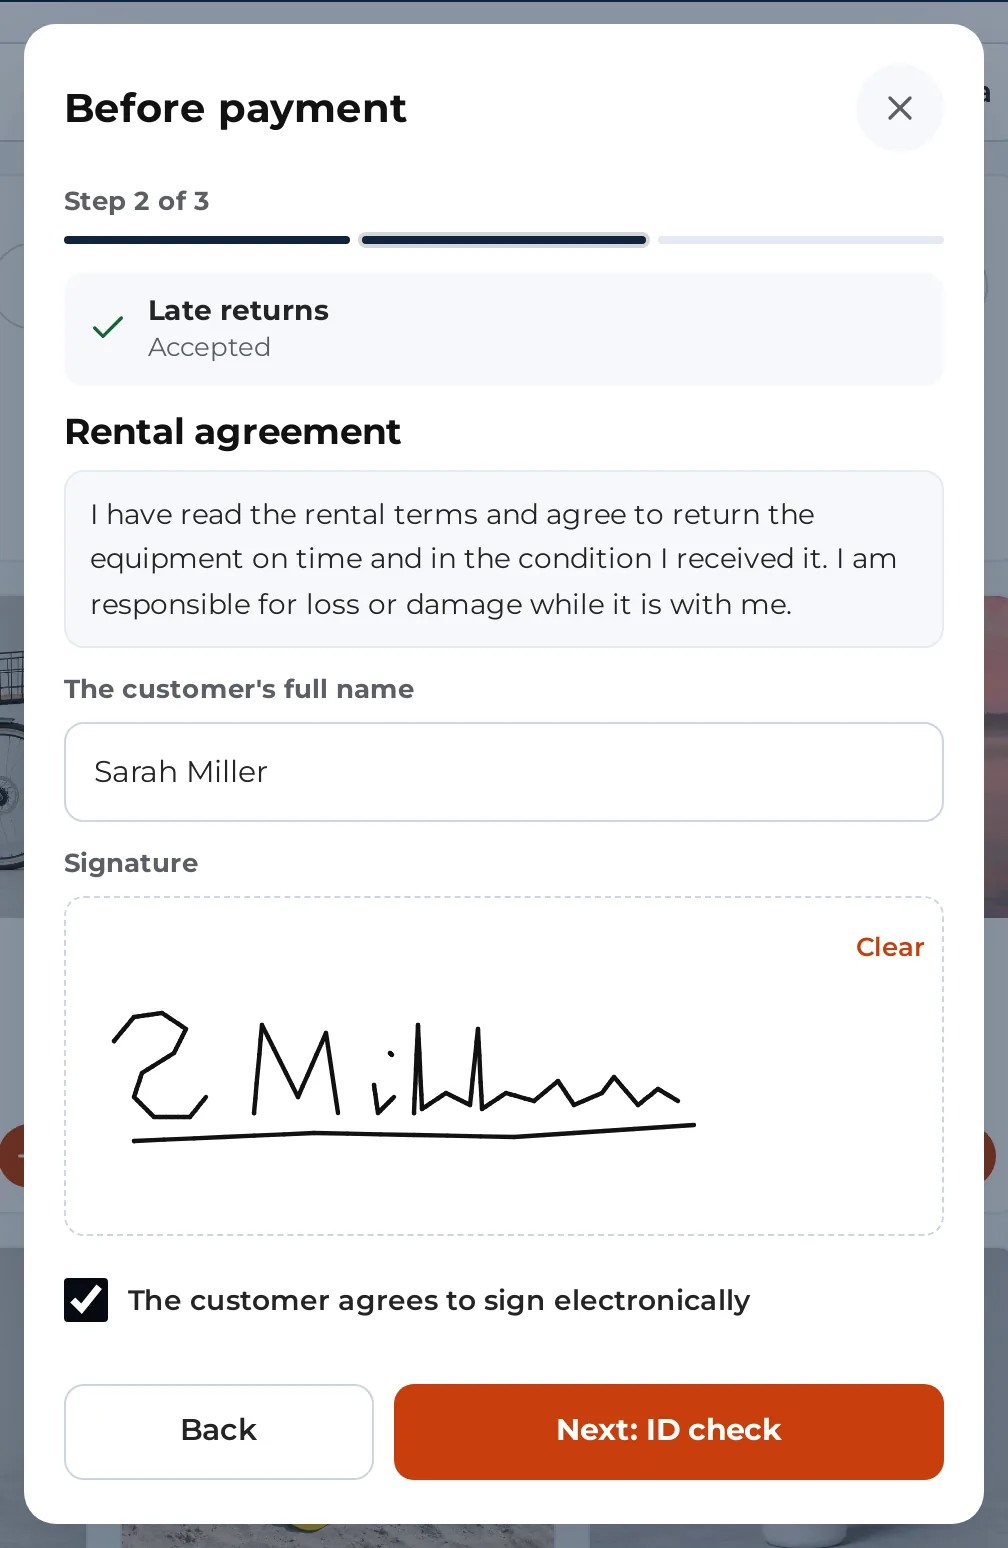
- Waivers and contracts (PDF & e-Sign): the contract step shows the text, The customer’s full name (or “Type the customer’s full name (this is the signature)”), and a Signature pad that works with a finger or a pen. The customer ticks “The customer agrees to sign electronically”. If the store allows it, tap Sign after payment to leave it: the order then keeps a “still to do” step.
- Late returns: when the store has a late-fee policy, a step shows it with the tick “The customer accepts the late-fee policy”.
- Booking deposit (rentals): when the store takes booking deposits at the counter, a choice appears on the sale: Everything now or Deposit: followed by the amount now and the balance and its due date. The balance is paid later at the counter or by link. See Rentals at the counter.
- Multi Location Inventory: each register belongs to a location. Sales take stock from the register’s location, tax is worked out at its address, and the receipt shows it.
The Before payment sheet #
When you tap Charge, and the sale needs answers from an add-on, a sheet called Before payment opens with each step. Fill them in and tap Continue to payment. Tap Back to the sale to cancel. If a step is missing something, the sheet shows a message on that step. This sheet does not close when you tap outside it, so a drawn signature is not lost.
Customers #
The customer bar at the top of the sale shows Walk-in customer with “No account on the order”, or the customer’s name, email and phone.
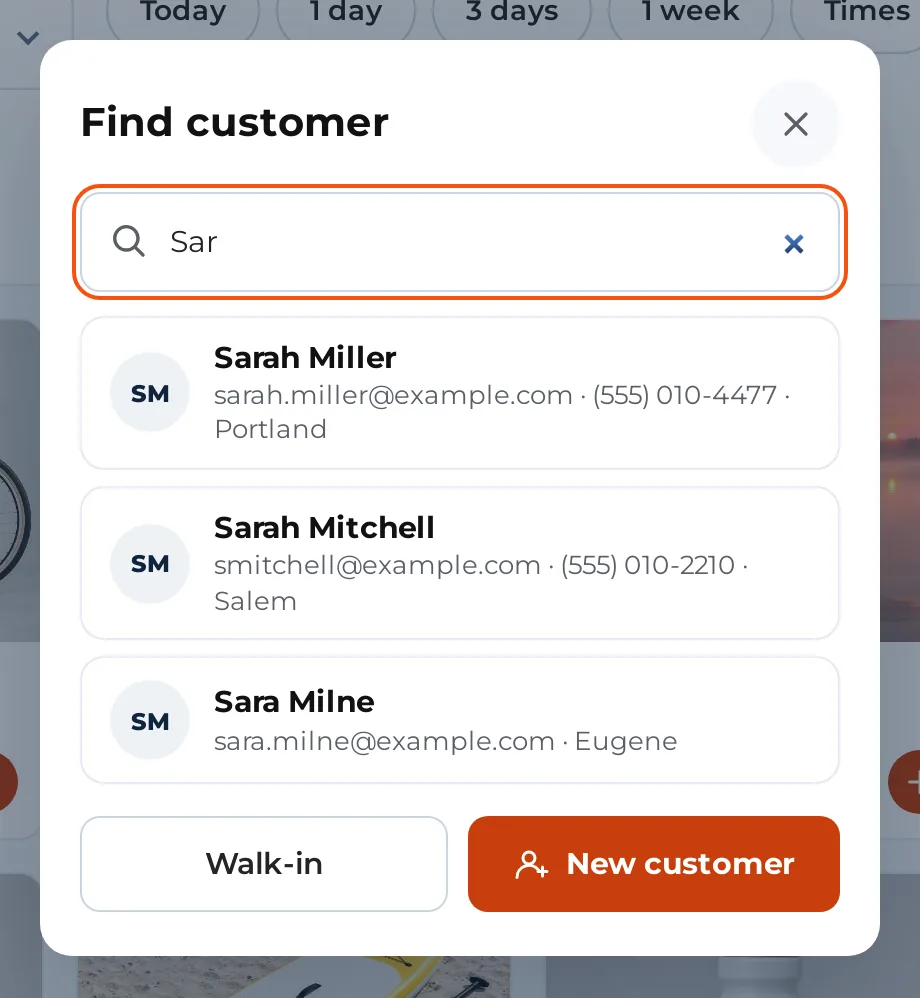
- Tap Find customer.
- Type at least two letters in Name, email or phone. Matches appear as you type. Tap one to put the customer on the sale.
- Tap Walk-in to sell without an account. Tap Change or Walk-in on the bar to swap or remove a customer later.
Quick create #
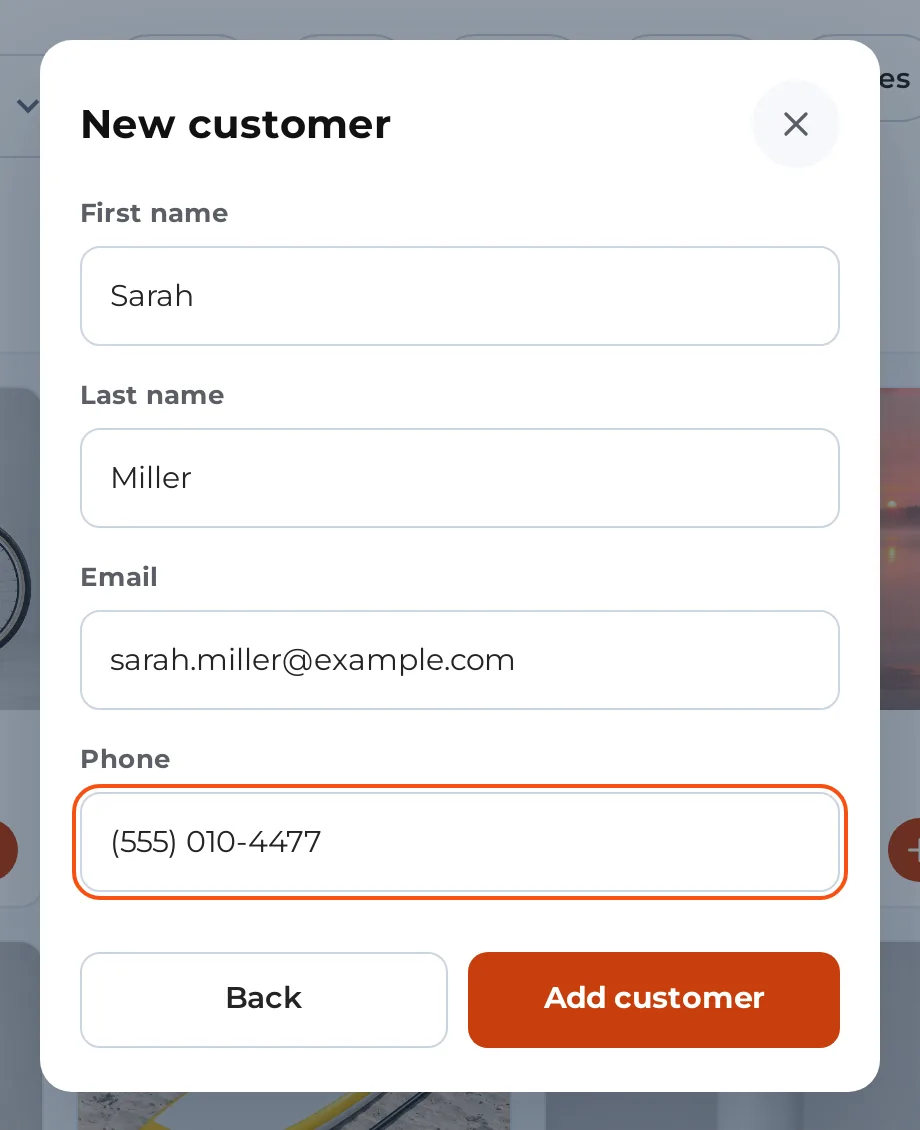
Tap New customer on the same sheet and fill in First name, Last name, Email and Phone, then tap Add customer. If the email already belongs to a customer you see “A customer with this email already exists: choose them from the search.” The new customer is put on the sale.
With a customer on the sale, a History button shows their orders, rentals out and what they owe. See Returns and refunds.
Coupons, price changes and discounts #
- Coupons: tap Add coupon, type the code in Coupon code and tap Apply. WooCommerce checks the coupon the way it does online. A coupon that cannot be used shows its reason.
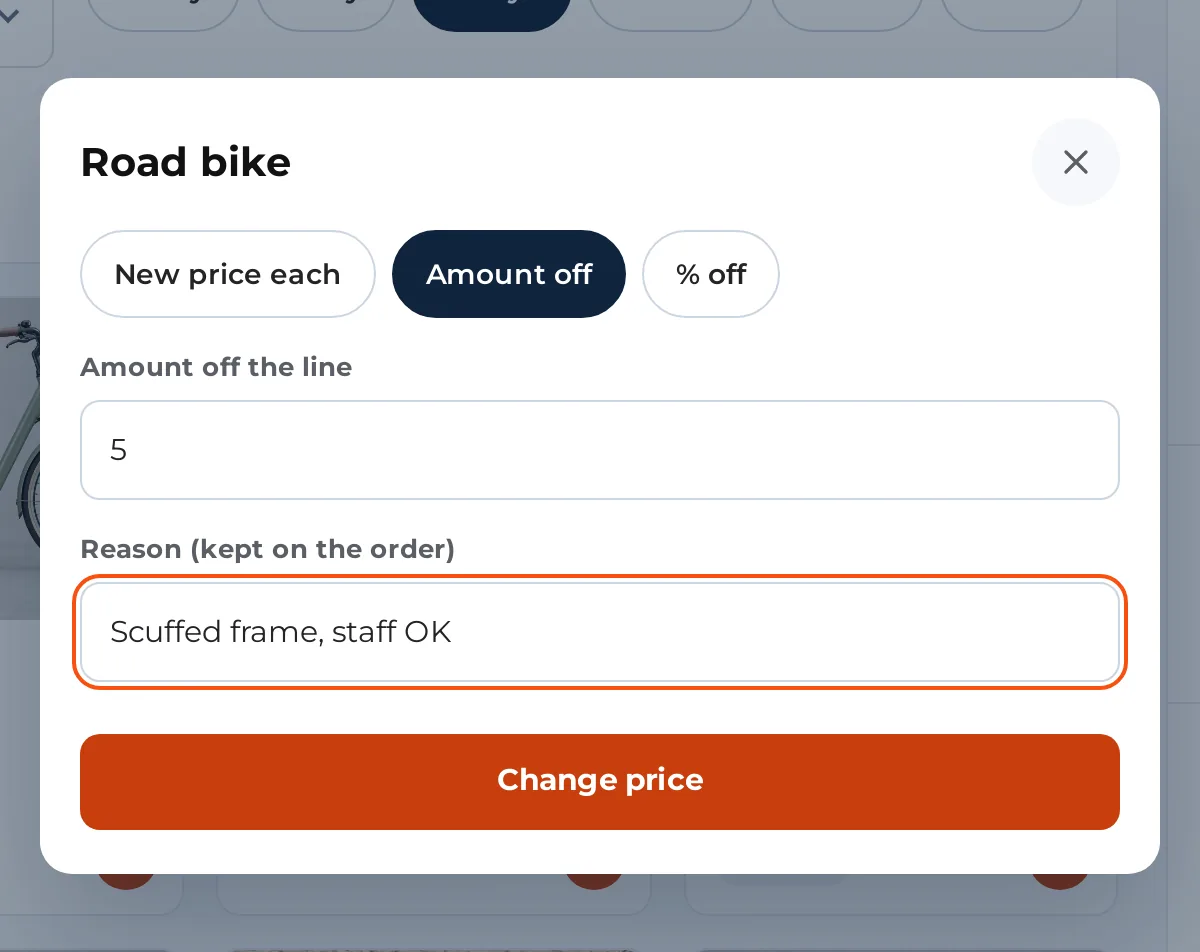
- Price of one line: tap Price under the line (it becomes Change price afterwards). Choose New price each, Amount off or % off, type the value, and give a reason. Tap Change price. The line shows “Was” with the old price, the reason and who changed it. Tap Back to the shop price to undo it.
- Discount on the sale: tap Discount on the sale, choose Amount off or % off, type the value and a reason, and tap Give discount. It shows as one coupon on the order. Change or Remove discount takes it off again.
Price changes and discounts need the price-change permission (sipos_override_price). See Who can do what. Without it you see “Changing prices and giving discounts needs a manager. Ask someone who may change prices to make the change.” A reason is required and is kept on the order line and in an order note. Taxes and coupons stay WooCommerce’s: the new price goes through the normal totals. A rental keeps its booked dates when its price changes.
Parking a sale #
Parking puts a sale aside so the screen is free for the next customer.
- With items on the sale, tap Park sale under the lines.
- Type a name in Name to find it by (a customer name, or what they are wearing) and tap Park sale.
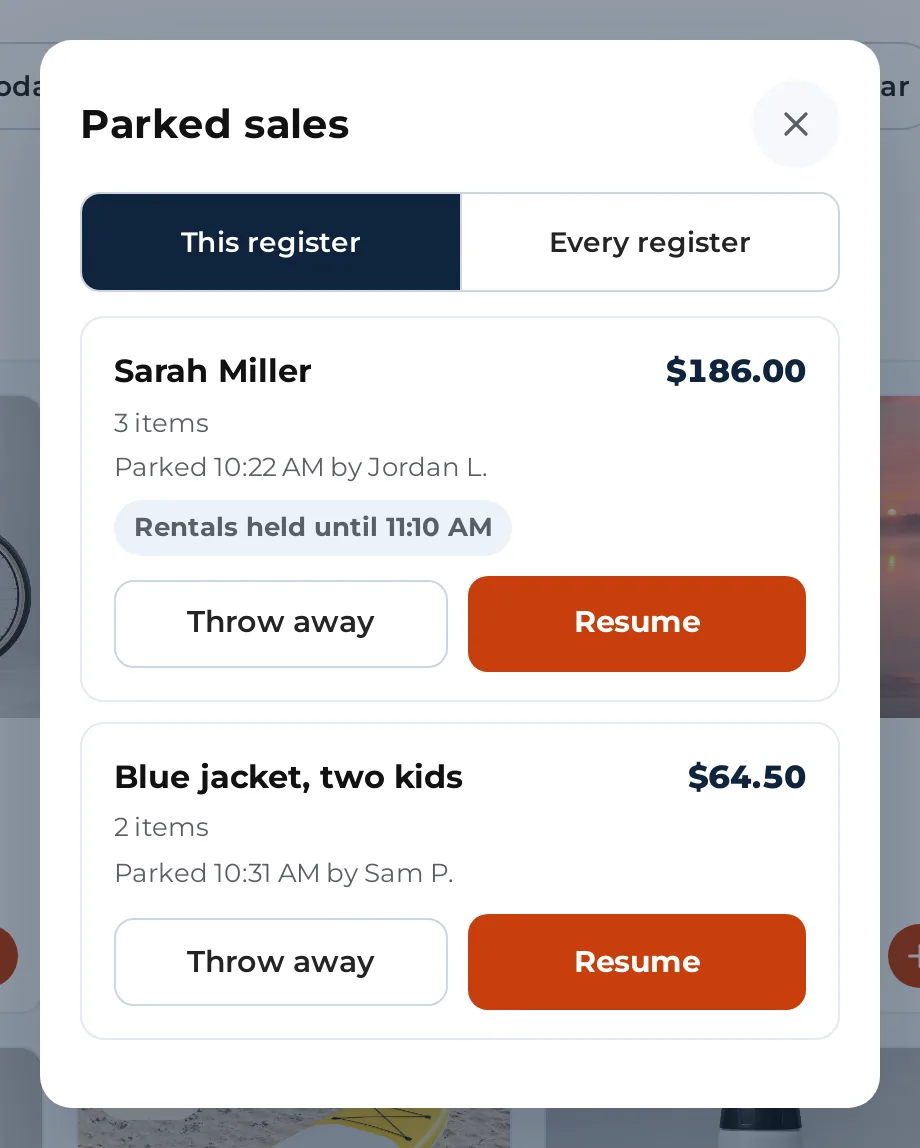
- The header now shows Parked with a count. Tap it to see Parked sales. Tap Resume to bring one back, or Throw away to discard it.
Rental items stay held for the time set under Parked sales keep their rental stock for on WooCommerce > Counter (60 minutes by default, 5 to 1440). After that the items are free for others. On Resume, the Counter books again what is still free and tells you which items it had to drop. You can only resume a sale when the screen’s sale is empty. Throw away frees the rental items at once.
Staff see the parked sales of their own register. Managers can switch between This register and Every register.