
A register is one counter desk: a till, a tablet, a van. This page shows how to set registers up, how a customer can pay, and how receipts and printers work.
Registers #
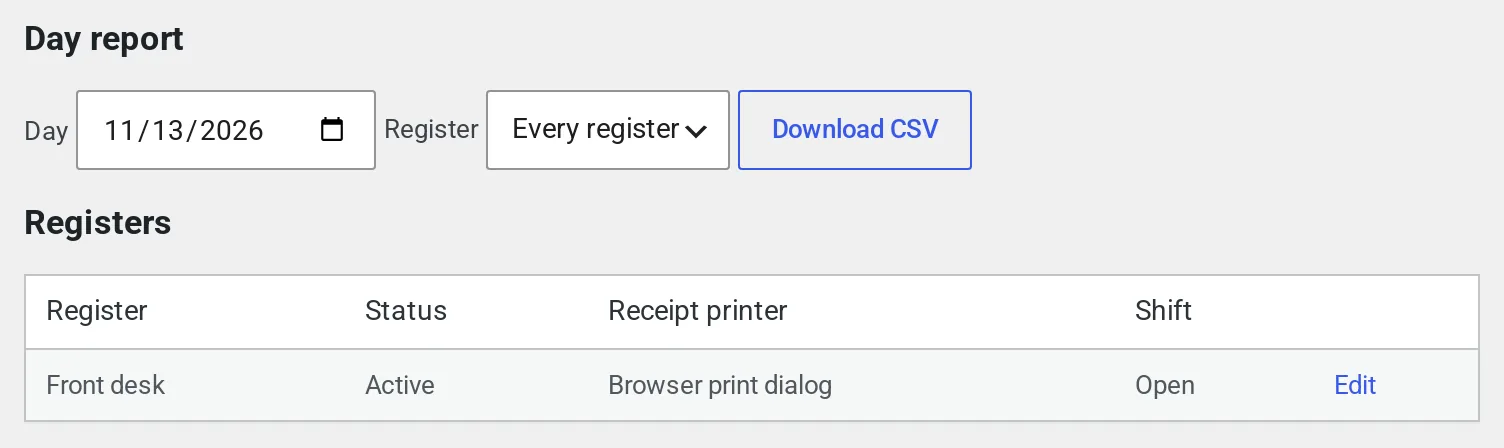
Go to WooCommerce > Counter and scroll to Registers. The table lists each register with its Status, its Receipt printer and whether a Shift is open. A register named Counter 1 is made when you activate the plugin.
Add a register #
- Type a name in New register (for example “Front desk” or “Van”).
- Click Add register.
- Click Edit on the new row to fill in the rest.
Edit a register #
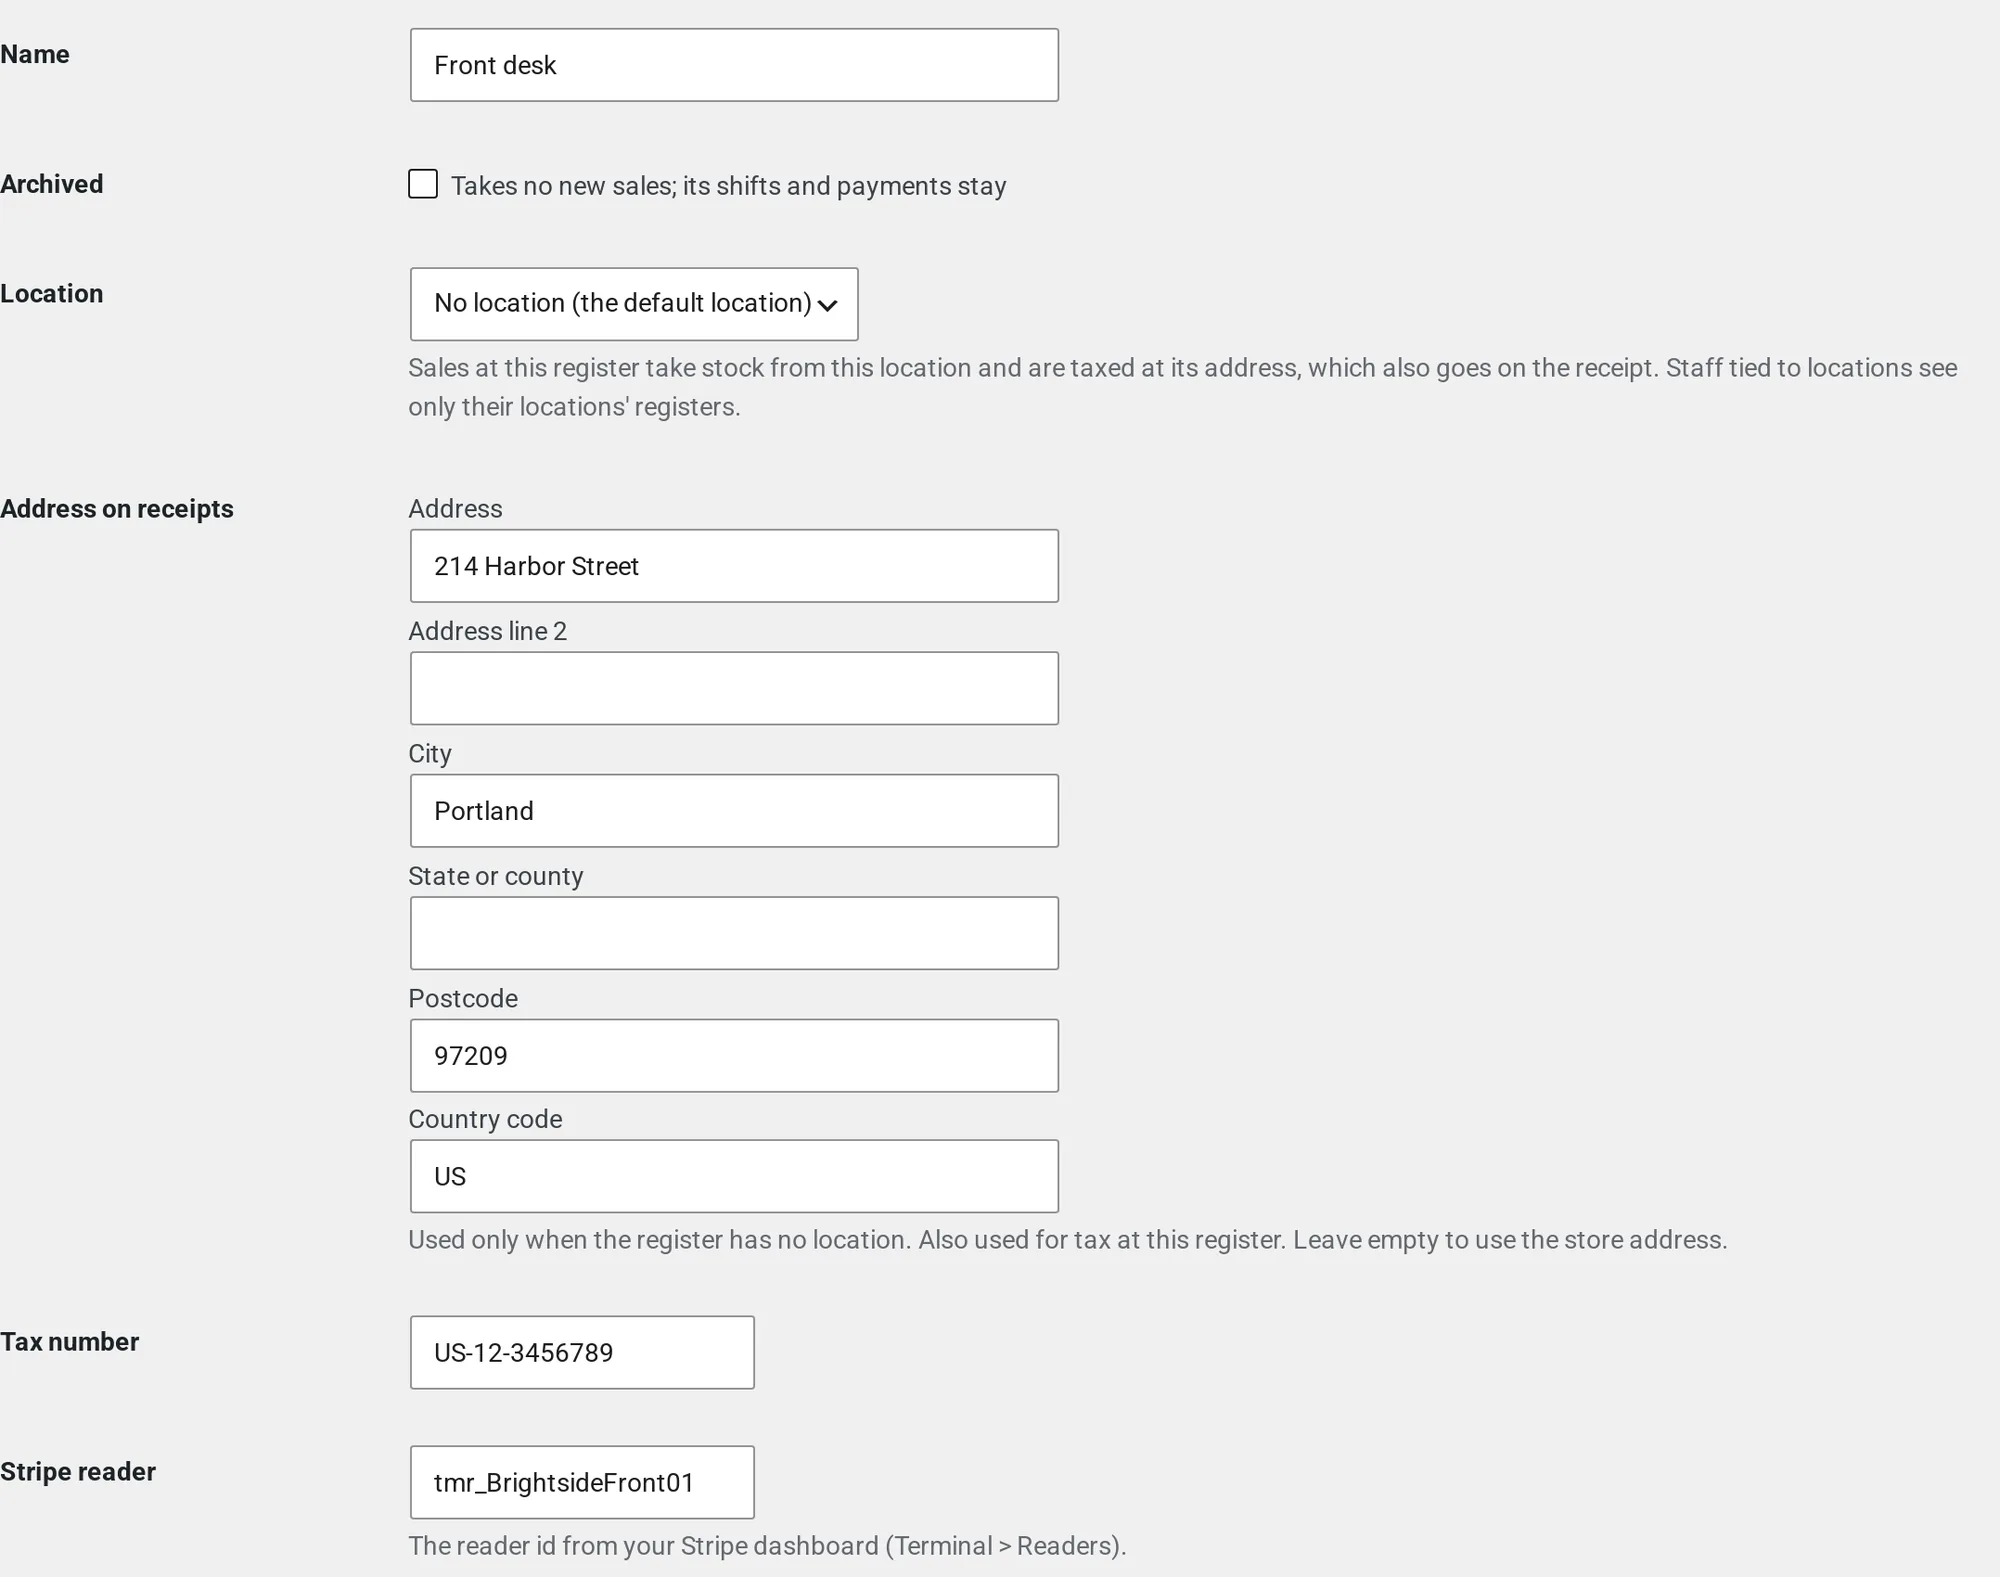
- Name: shown on the register picker and on receipts.
- Archived: tick “Takes no new sales; its shifts and payments stay”. You cannot archive a register while its shift is open: close the shift first.
- Location: only appears when Multi Location Inventory is active. Sales at this register take stock from the location and are taxed at its address, which also goes on the receipt. Staff tied to locations only see the registers of their own locations.
- Address on receipts: Address, Address line 2, City, State or county, Postcode and Country code. This address is also used for tax at this register. Leave it empty to use the store address.
- Tax number: printed on the receipt.
- Stripe reader: the id of the card reader for this register. See “Card reader” below.
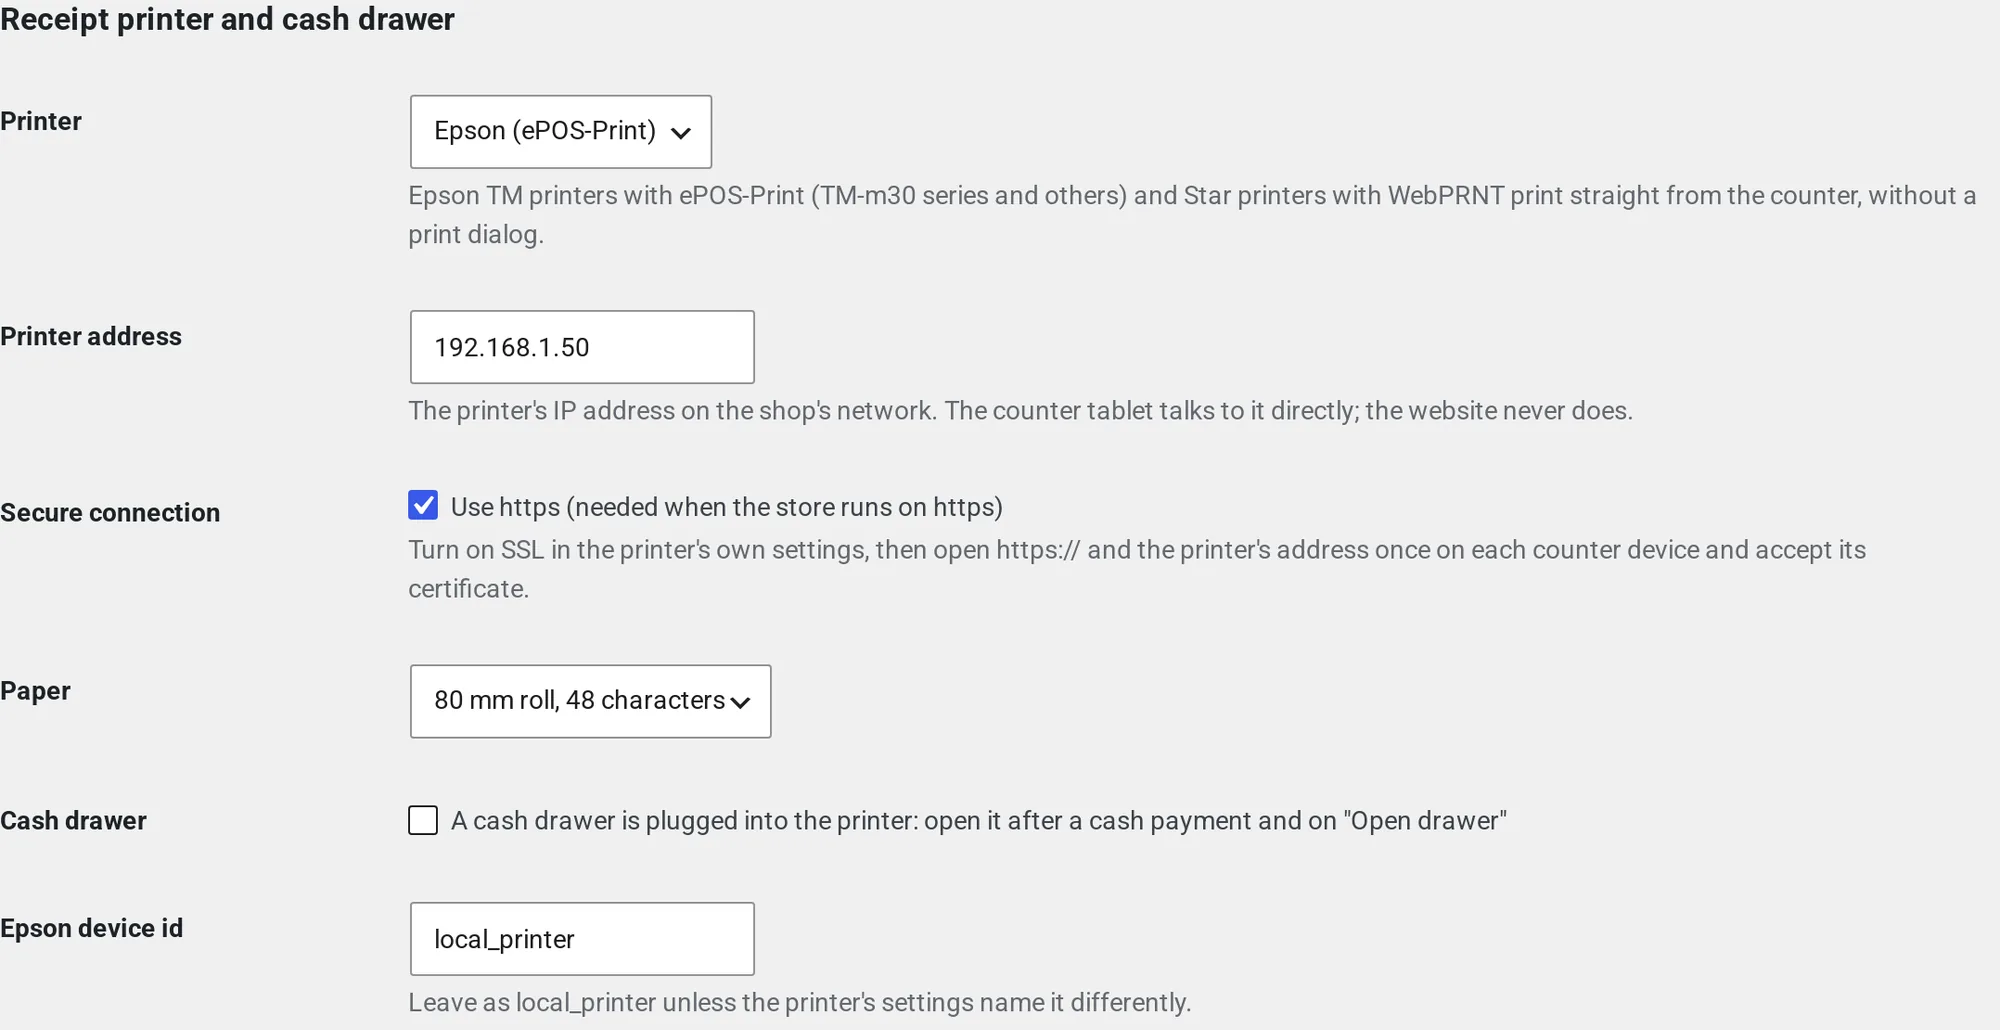
- Receipt printer and cash drawer: see the receipts section below.
Click Save register.
How customers can pay #
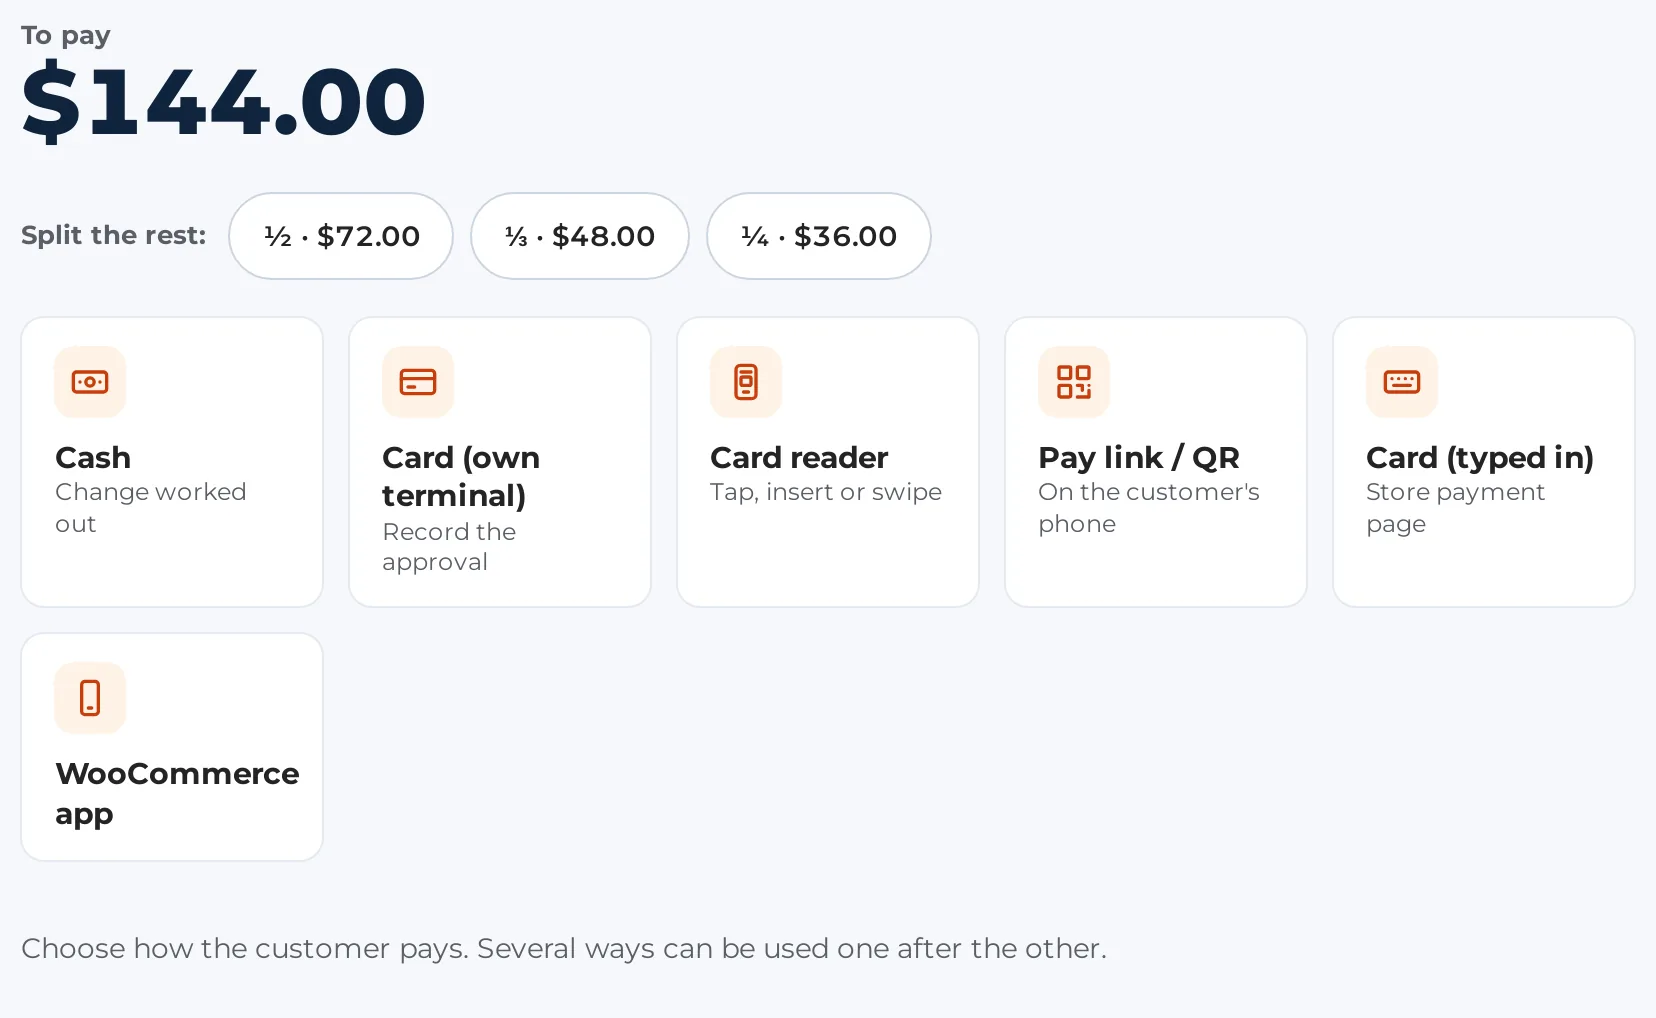
When you tap Charge, the payment screen opens. The row of tabs shows the ways to pay. You can use several one after the other, so a customer can pay part in cash and the rest by card.
| Tab | What it does | Needs |
|---|---|---|
| Cash | Cash tendered, change given, rounding where the currency rounds cash. | Nothing |
| Card (own terminal) | You charge the card on your own card machine, then record it here with an optional reference. | Nothing |
| Card reader | The Counter sends the amount to a Stripe card reader. The customer taps, inserts or swipes. | The Stripe payment plugin, a reader id on the register |
| Pay link / QR | Shows a QR code and link for the store’s own payment page. The customer pays on their phone, and the screen moves on when it is paid. | Any online payment method on your store |
| Card (typed in) | Opens the store’s own payment page on this device so the card can be typed in. | Any online payment method on your store |
| WooCommerce app | Hands the order to the WooCommerce app, where you tap Collect payment. | The app on a phone |
The Counter never shows a card number field of its own and never stores card data. Card details go to the payment provider only.
Cash #
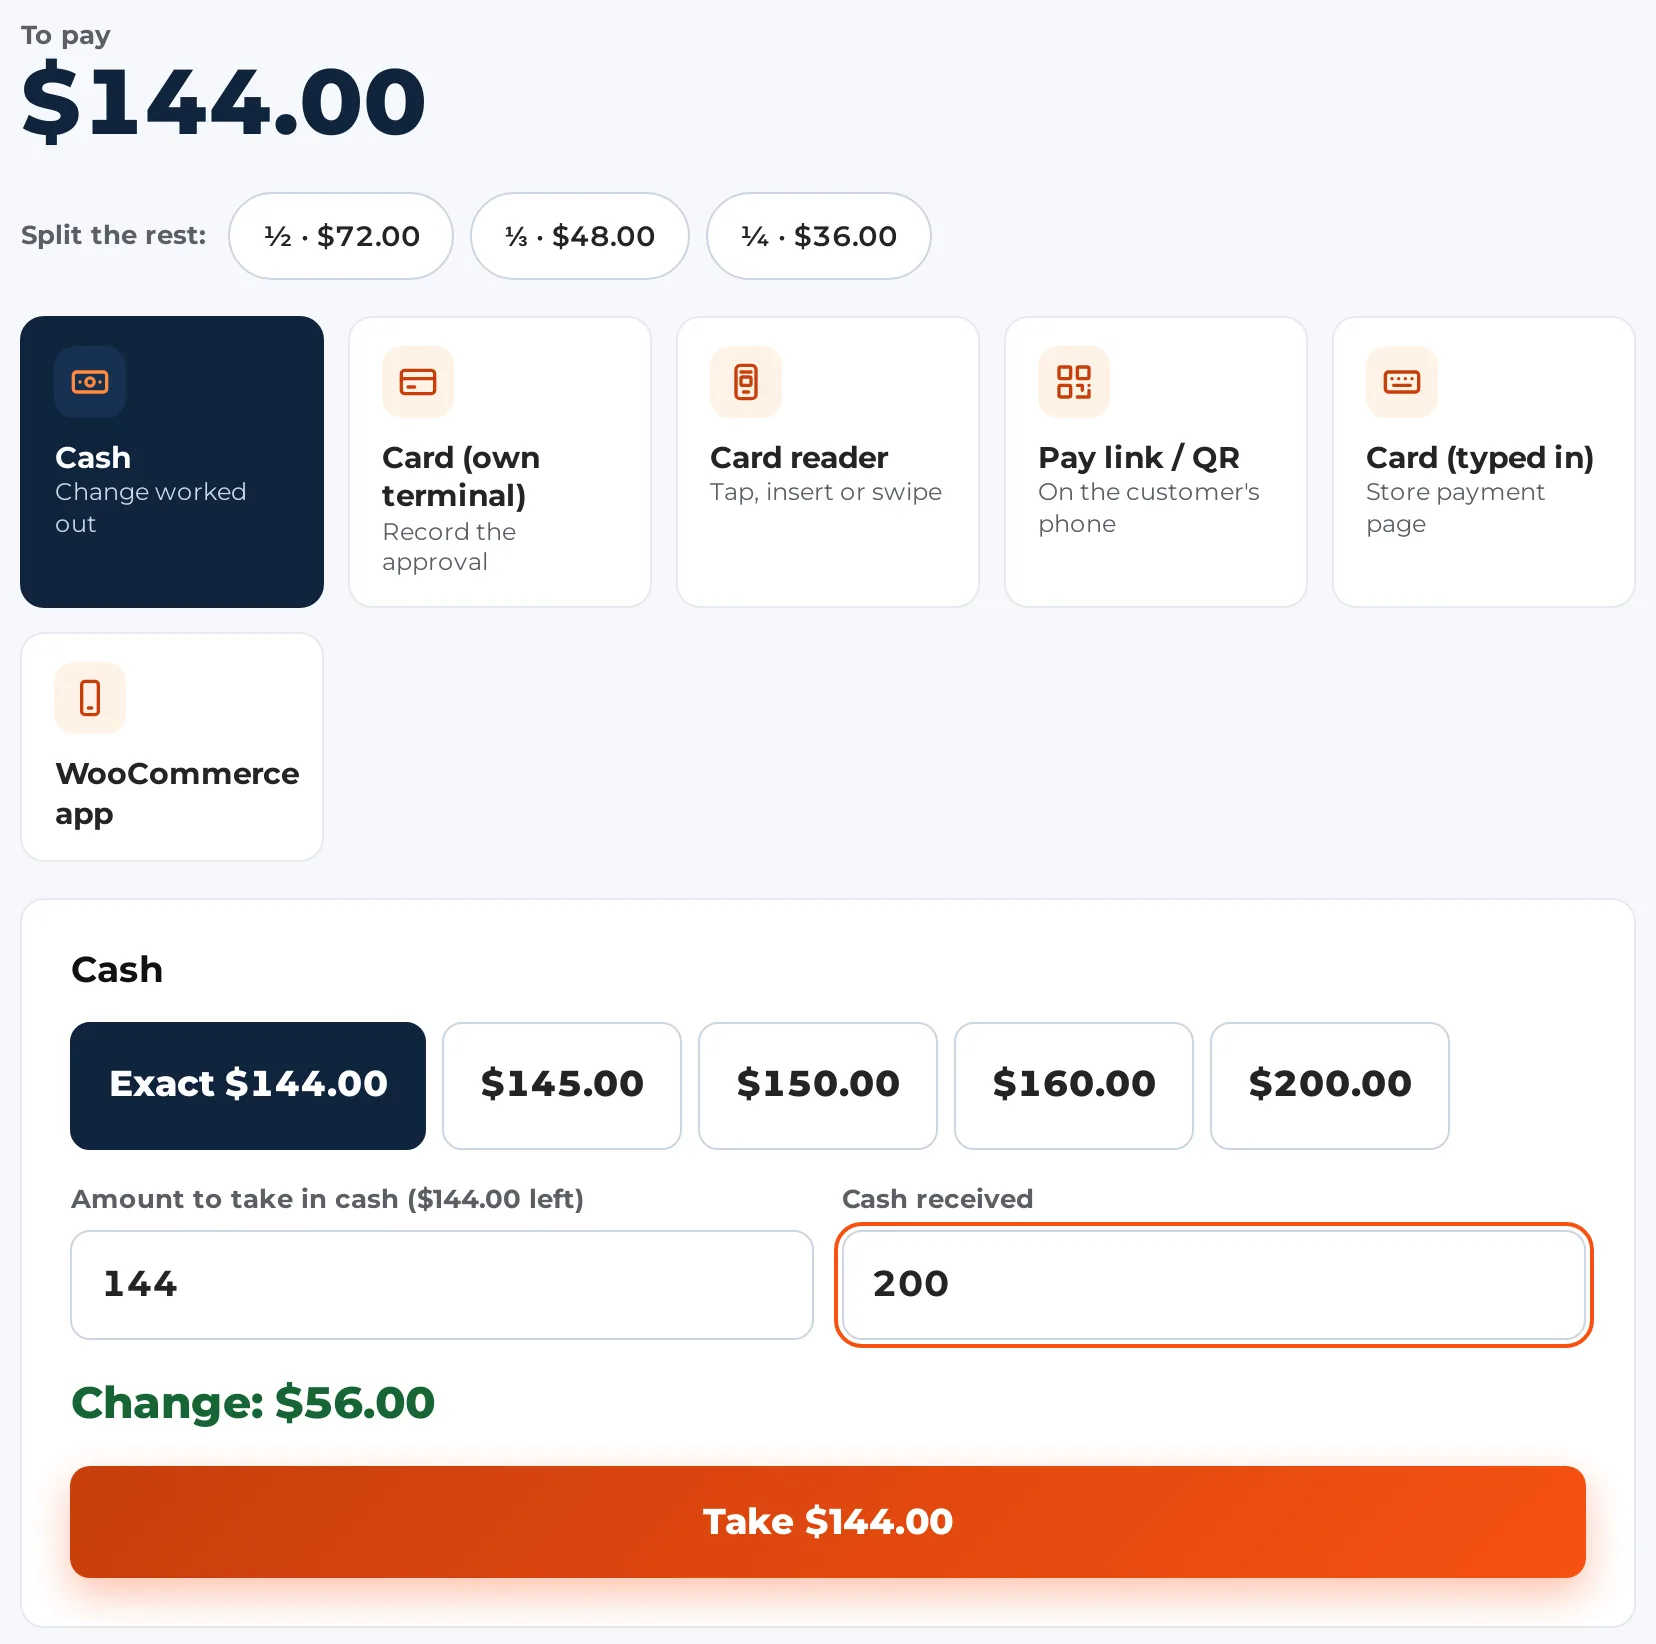
- Type the amount to take in Amount to take in cash. It starts as everything still owed.
- Tap a banknote shortcut (the first one is Exact), or type Cash received.
- The screen shows Change or No change. Tap Take to record it.
If the customer hands over less than the amount, what was handed over is taken as a part payment and the screen shows what is left to pay. The register’s cash drawer opens after a cash payment if the register has one (see below).
Card on your own terminal #
- Charge the card on your own card machine.
- Type the amount in Amount charged, and a Terminal reference (optional), such as the slip number.
- Tap Card approved: record.
There is no link between the Counter and your own machine. The Counter only records what you tell it, so type the same amount the machine charged.
Card reader #
The Counter drives Stripe card readers from your server, using your WooCommerce Stripe payment plugin. The reader does the card handling, so WordPress never sees the card.
- In your Stripe dashboard, register the reader (Terminal > Readers) and copy its id (it starts with tmr_).
- In WooCommerce > Counter > Registers, edit the register and paste the id into Stripe reader.
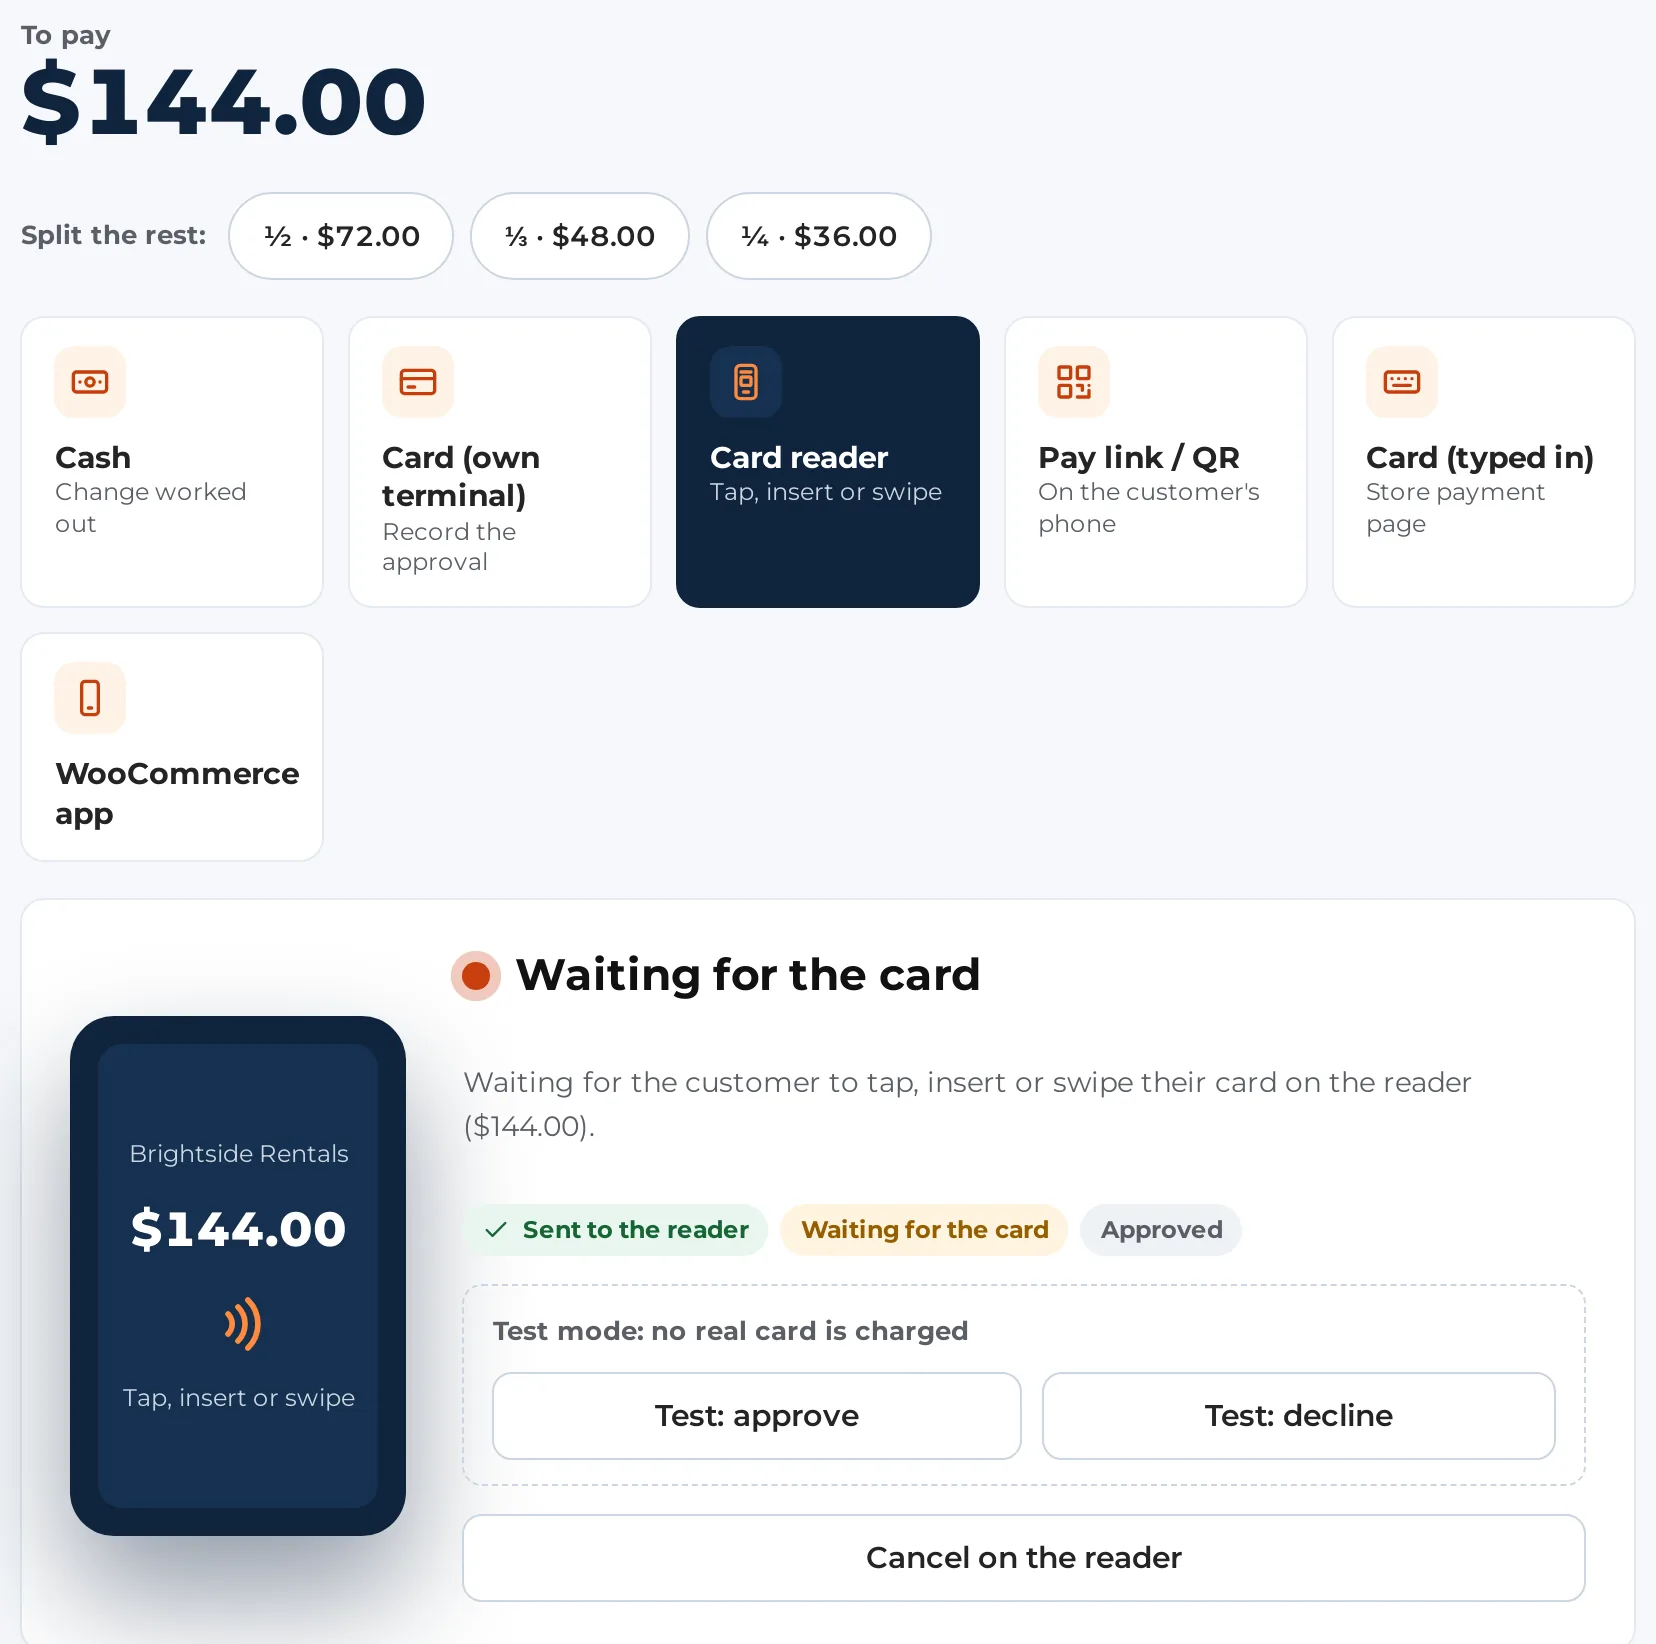
- On the payment screen, tap Card reader, check the amount, and tap Send to reader.
- The screen says it is waiting for the customer to tap, insert or swipe. When the card is approved the payment is recorded and the screen moves on. Tap Cancel on the reader to stop.
If the card is declined you see the reason and a Try again button.
When the Stripe payment plugin is in test mode, the Card reader tab also works without a real reader, using Stripe’s simulated reader. Two buttons appear while it waits: Test: approve and Test: decline. Use these to practise.
Pay link or QR #
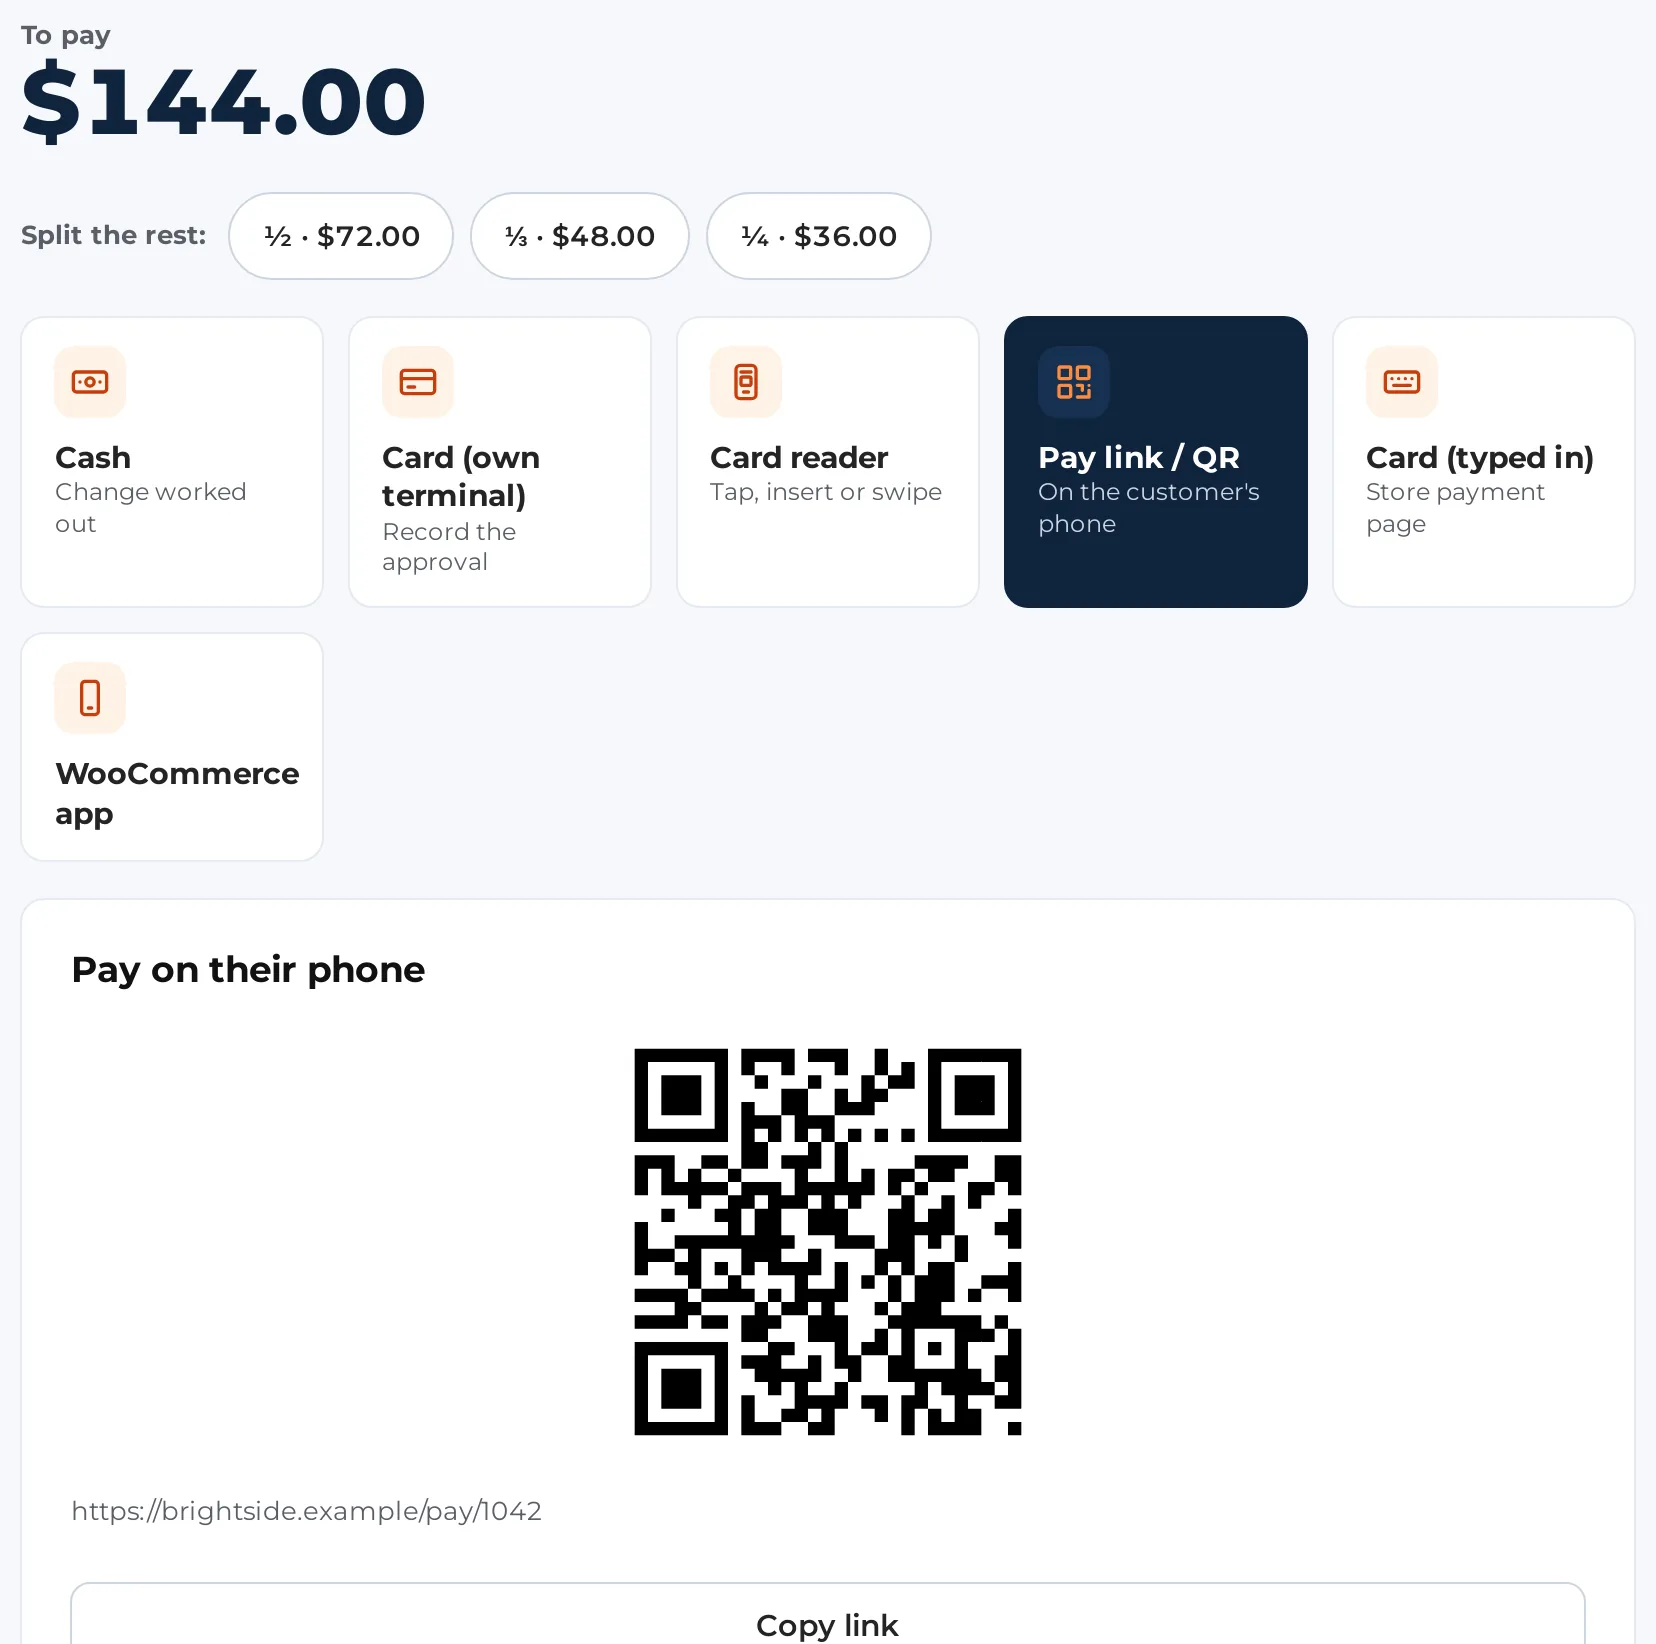
Tap Pay link / QR (the heading says Pay on their phone). A QR code and a link appear. The customer scans the code and pays on the store’s own payment page. You can tap Copy link to send it another way. This screen checks every few seconds and moves on by itself when the order is paid.
Card typed in #
Tap Card (typed in), then Open the payment page. The store’s own payment page opens on this device. Online card fees apply, and the customer’s bank may ask them to approve the payment. You come back to the Counter when it is paid.
Pay link and typed card charge the whole order. They are hidden once part of the order has been paid at the counter. Take the rest with cash, the card terminal or the reader.
WooCommerce app #
Tap WooCommerce app. The screen shows the order number and these steps: open the WooCommerce app on the phone with Tap to Pay or a paired card reader, open the order, tap Collect payment. When the app has taken the payment, the Counter moves on by itself. Tap Take the payment here instead to go back to the Counter’s own ways to pay.
Split payments and paying later #
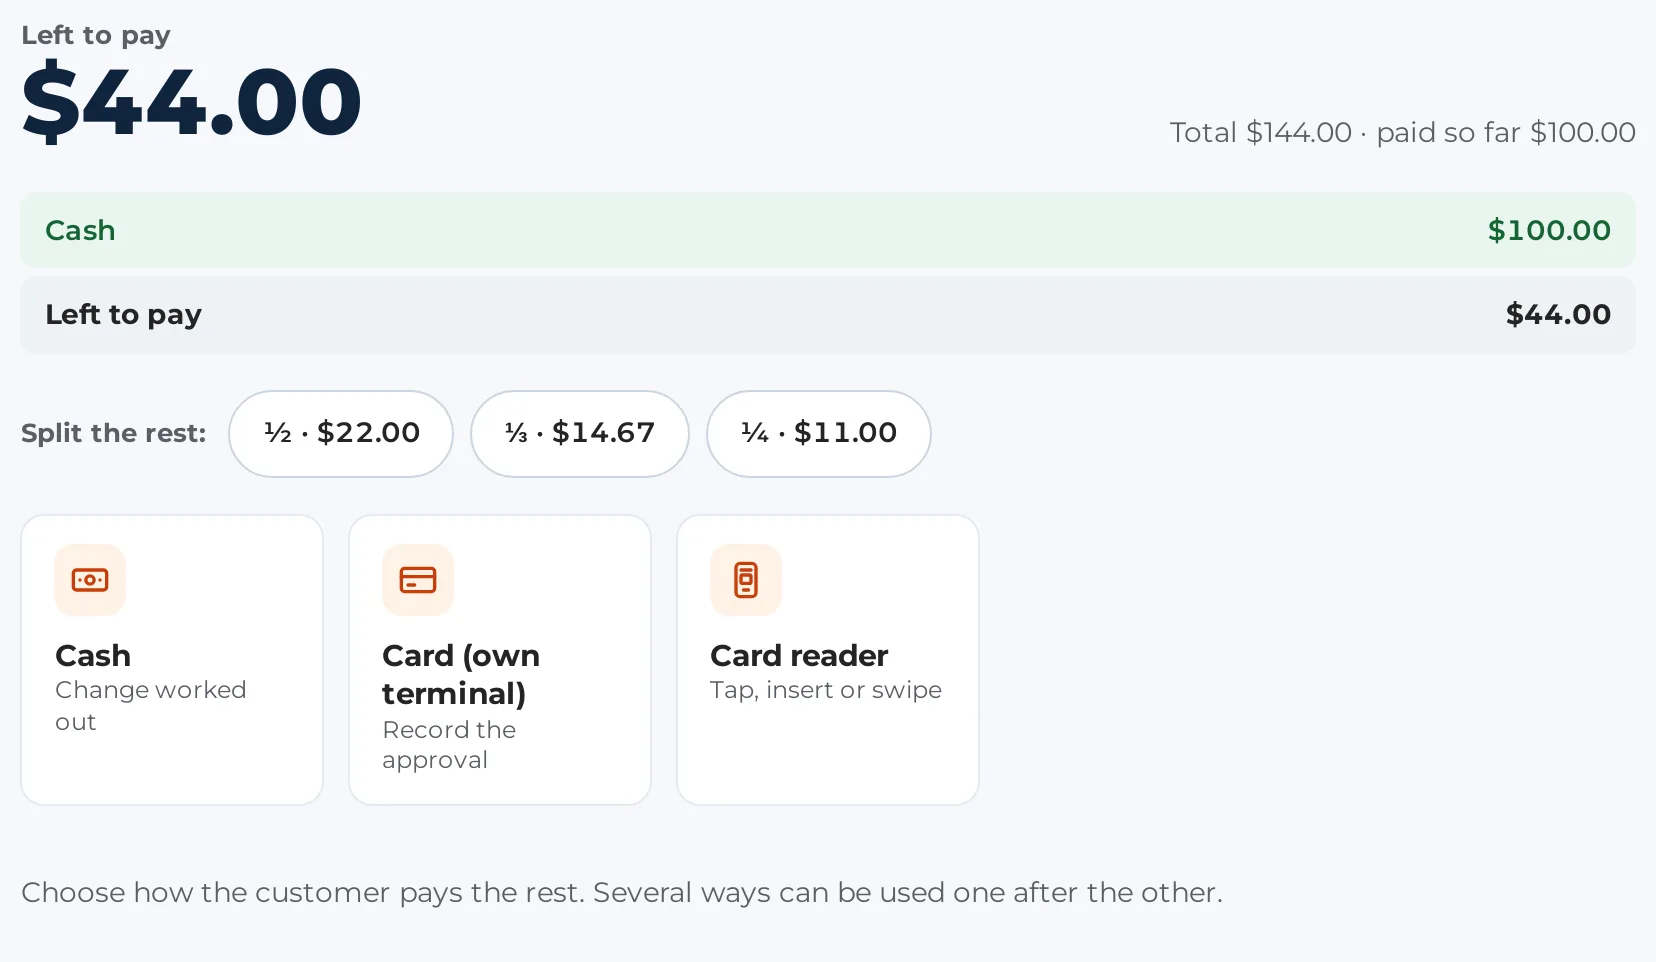
- Tap 1/2, 1/3 or 1/4 under Split the rest: to fill in a share of what is left. Tap All to go back to the full amount.
- A part payment leaves the order pending with the balance shown. The receipt lists every payment.
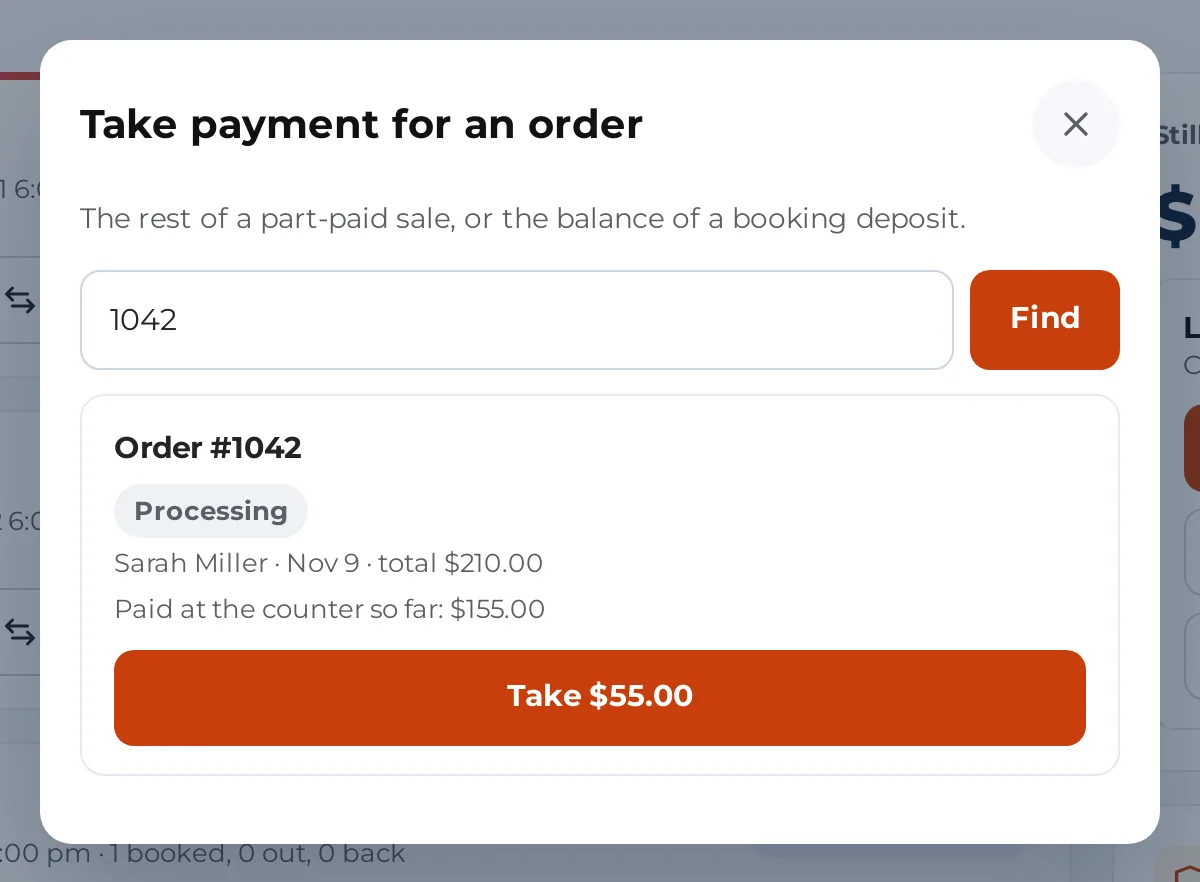
- Tap Pay later to leave the order unpaid. It stays in WooCommerce as pending payment. To take the money later, tap Take payment in the Counter header, type the order number, and tap Find.
Keeping a card on file #
A card paid on the card reader can be kept for later charges, such as late fees or the renewals of a subscription. The Counter only does this when the customer has agreed. The agreement is a tick box on the Before payment sheet, for example “The customer accepts the late-fee policy” or “The customer agrees to the renewals”. Without that tick, nothing is kept. Later charges to a kept card are covered in Rentals at the counter.
Receipts and printers #
After a sale, the receipt screen has Print receipt and Email receipt. The receipt shows your store name, the register address, the order number and date, each line, discounts, tax, every payment (with cash handed over and change), what is still to pay, and your text under the receipt. A receipt printed straight to an Epson or Star printer (see below) also carries a QR code of the order number. Scan it later to start a return.
Set Receipt paper and Text under the receipt on WooCommerce > Counter.
Printing through the browser #
This is the default. Print receipt opens the browser’s own print dialog. It works with any printer the device can print to. Set Receipt paper to match: 80 mm roll, 58 mm roll or A4 or Letter page.
Printing straight to a receipt printer #
For printing without a dialog, edit the register and set the Printer to Epson (ePOS-Print) or Star (WebPRNT). The printer must be on the same network as the counter device.
- Printer address: the printer’s IP address, for example 192.168.1.50.
- Secure connection: tick “Use https (needed when the store runs on https)”. Turn on SSL in the printer’s own settings first. Then open the printer’s address with https:// once on each counter device and accept its certificate.
- Paper: 80 mm roll, 48 characters, 80 mm roll, 42 characters or 58 mm roll, 32 characters.
- Epson device id: leave it as local_printer unless the printer’s settings name it differently.
The counter device talks to the printer directly. Your website never does. If the printer does not answer, the Counter tells you and offers to print through the browser instead. On the Shift sheet, Test printer sends a test receipt.
The cash drawer #
If a cash drawer is plugged into the receipt printer, tick Cash drawer on the register. The drawer then opens after a cash payment, after a cash refund, and when you tap Open drawer on the Shift sheet. Without a printer-connected drawer, open it by key.
See Hardware we tested for what has been checked and what has not.


